
A purely fiscal decision
My recent return to large format photography culminated in the discovery of holes in the bellows of my Tachihara Hope. Gutted as it was to find them, it explained a lot.
The question then became should I repair the camera. Could I justify it, would I use it enough to spend the money?
After a few days I realised I was asking the wrong questions. With damaged bellows my Tachihara was either a spares or repair sale or an objet d’art. An attractive wood and brass paperweight that would have sneered at me either from the shelf or from a sales receipt.
Some research bore a quote, and once I knew how much it would be, the question became much simpler: replacing the bellows made the camera both usable and saleable. Having time to shoot it or not was moot; the camera needed repairing.
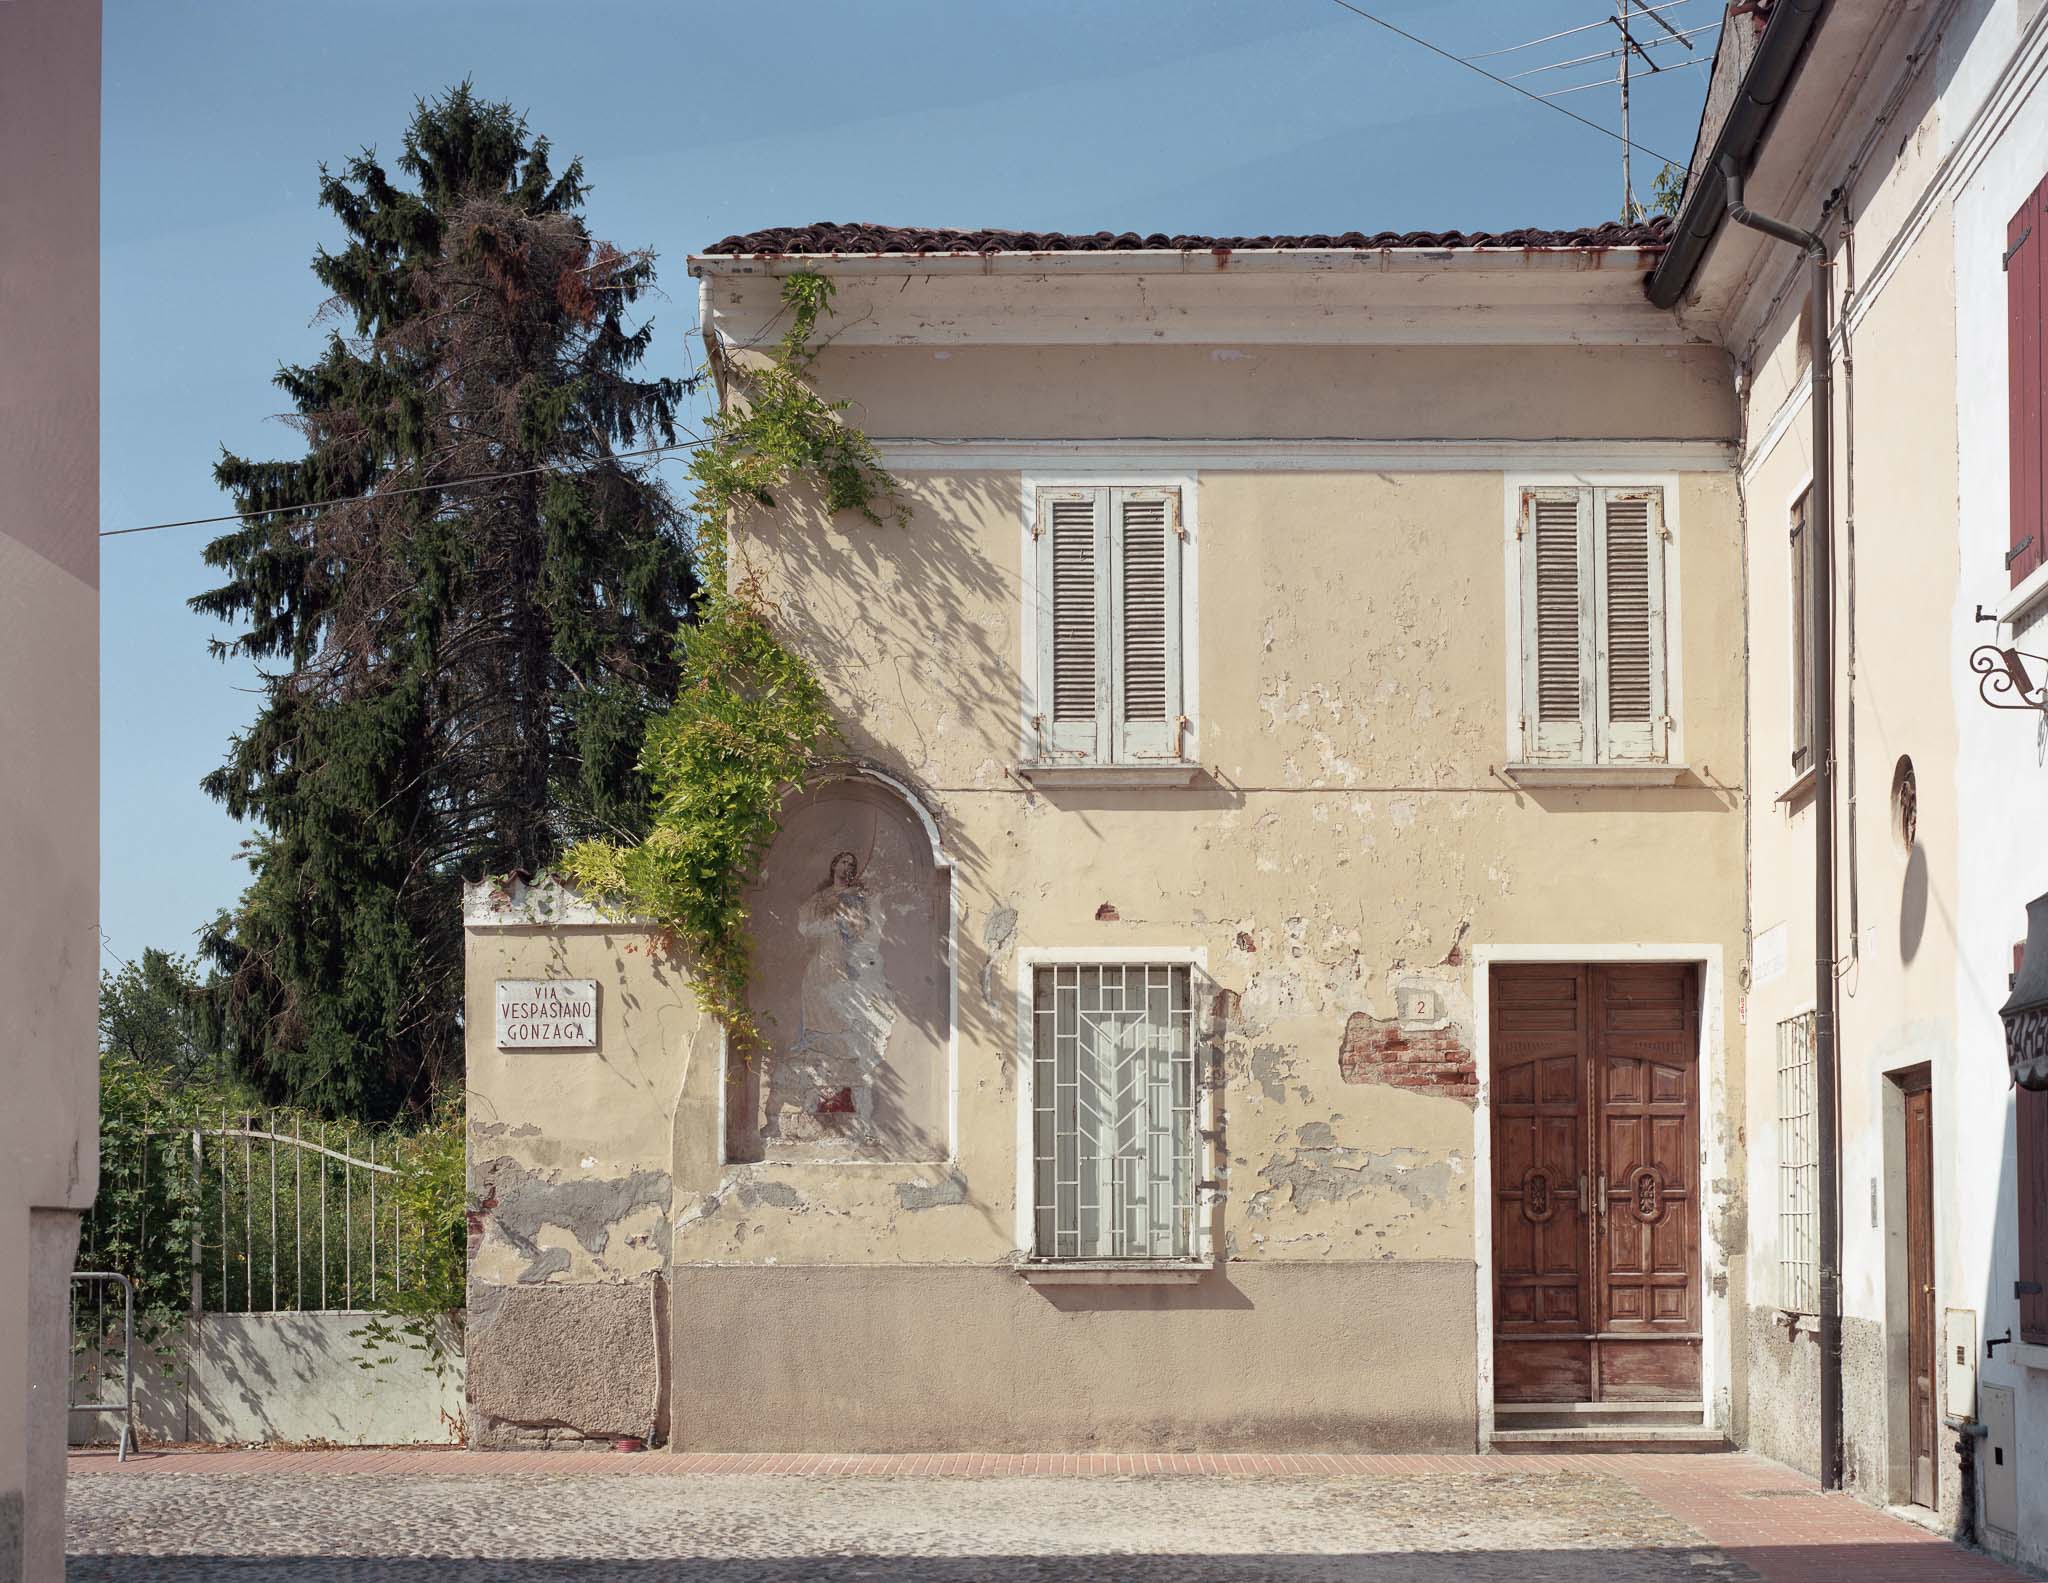
Sabionetta – Tachihara Hope – 150mm f/5.6 – Portra 400 – (2015)
Case History
In 2015 I took my first colour pictures with the Tachihara while I was on holiday in Europe. I really loved the results. I wanted to repeat the experience in 2016 but instead came back with mostly blotchy, bleached and wrecked sheets of film.
That the results were not uniform, and the fact that some seemed unscathed confused me and left me wondering where I had failed.
The camera moved onto a high shelf and remained there, an embodiment of my failure, looking down on me and reminding me, when I actually looked at it, of what a mess I’d made.
A final image, taken on the 2016 trip remained undeveloped in a double dark slide for 4 years because I couldn’t bring myself to mix 5 litres of chemistry, (that I already owned), just to find another disappointment awaiting me in the clips.
A year after that debacle my son was born, and it was easy to blame him for my failure to re-engage. The Jobo creaked into silence and the pricey scanner I’d bought specifically to scan 4×5 sheet film was relegated to scanning my receipts at tax time.
So timid and hurt was I by the experience that, during lockdown, I spent a month building up to shooting it again. I spent time ensuring that all of the surrounding, technologies and processes were sound, before I would take it off the shelf.
Brief success in the studio led me to take it to France, and to come back with a single surviving photograph, and the eventual discovery of the holy bellows.
The Tachihara went to Mike Walker at mikewalkercameras.com, (thanks to Hamish at 35mmc for the signposting). It wasn’t away for long, a few days, but from the moment I knew it was going to be repaired I was like a dog with two tails.

Woods – Tachihara Hope – 90mm f/6.8 – Portra 400 – (2016)
Perfect package
Six years ago when I bought my Tachihara it arrived fully accessorised. Inside the foam-filled briefcase I had double dark backs, a shutter release, a loupe, a blanket, and a 150mm f/5.6 Alto lens.
A 150mm lens on 4×5 offers a field of view that is similar to 50mm on 35mm film, which happens to be my favourite focal length.
It’s wide enough for loads of subjects, selective enough for others, and having only the one lens allowed me to concentrate on all of the other capability the camera offered.
After a while I started to crave something wider for interiors and landscapes. I was pretty sure I wanted a 90mm lens – sure enough to borrow one and take it for a spin.
Offering a field of view that was roughly equivalent to 27mm on a DSLR, it would be perfect for landscape work. The model I borrowed was a Schneider 90mm f/6.8 Angulon, an older lens but perfect for what I was after.
I resolved to get a 90mm as soon as I could, but I couldn’t afford the one I wanted. I bought a 210mm f/5.6 Fujinon lens that I could afford. It doesn’t make sense, but that‘s what I did.
Soon after I went to Italy, made bad pictures, and put my 90mm plans, indeed all my Large Format plans on hiatus.

Angel – Tachihara Hope – 90mm f/6.8 – Ilford HP5 – (2016)
Lying to yourself
As soon as the camera was being repaired, I went looking for 90mm f/8. I told myself I was just checking in with a market place I had lost touch with; that I was fact-finding. I’m not sure if I knew I was lying to myself.
When I found a ‘mint’ 90mm f/8 Schneider I began scheming immediately. All I had to do was part with some bits I haven’t been using, (including the 210mm f/5.6), and be altogether too excited.
Picking a new lens for any of my other cameras is easy. What mount does the camera use? Does the lens share that mount? Done. (It can get a bit more complicated, but not much).
In comparison, picking a lens for a LF camera is different.
What shape of lens board does the camera take, and do I have one spare? What size copal is the shutter and is the hole in my spare board the right size?
It goes on.
The Tachihara is a field camera and it has integral bellows. (Monorail and technical cameras often have interchangeable bellows, but mine are glued, recently glued).
As a rule, the shorter the focal length, the closer the rear element of the lens needs to be to the focal plane, and the more compressed the bellows will become.
The camera can accommodate a 65mm lens, which equates to around 20mm in 35mm terms. The problem is that, when using that lens, the bellows will be so compressed that they are squashed flat. The movements; rise, fall, tilt, shift, and swing then get hindered by the compressed bellows and the camera’s body.
A 90mm lens would give me about a 27mm equivalent field of view. Still wide, but leaving some room for movement.
The lenses I really wanted were the Schneider 90mm f/8 Super Angulon and its f/5.6 cousin. They offer bags of coverage, delicious clarity, colour, and contrast.
The f/8 was my head’s desire. Of the two, it’s lighter and more reasonably priced. My heart wants the f/5.6, because my heart makes poor decisions. Aside from being brighter when you’re focusing and weighing more when you’re carrying it up a hill, there’s no reason for me to plumb for the f/5.6.
The one I found was almost too good to be true. It was the f/8, which was the version I knew I should buy. It was on a board that would fit my camera, and the board was recessed. This meant that the lens was effectively mounted behind the front standard, reducing the amount of compression on the bellows and allowing for more movement.
I’d looked at recessed boards but never knew how much of a recess I needed, here was one already set up and ready to go.
I had thought of everything.

Tachihara Hope – 5dmkIV – 85mm f/1.8
When you think you’ve thought of everything
The camera arrived and I unpacked it happily. The bellows opened and extended smoothly, without sticking or sagging. I marvelled at it. It was beautiful in a way it hadn’t been for years.
By the time I had the camera back I had the 90mm on reserve and a scheme in place. When the lens arrived, I unpacked it and showed it to my three year old son. (He was dutifully excited for me). I put it in the recently returned Tachihara and exalted in my power and cleverness.
Dream achieved.
Later, and with some consternation I found that the lens has a quick-shutter release connection that’s different to every other lens I know of.
The recess on the lens board does allow for greater movement, but of course the lens controls are on the barrel of the lens and are thus inside the recess.
A more dainty photographer might not notice, but some of the levers are hard to get to with sausage fingers.
Purchasing a tiny nipple adaptor from Linhof solved my connection problem and I put my hands on a diet. Sorted.
I had thought of almost everything.
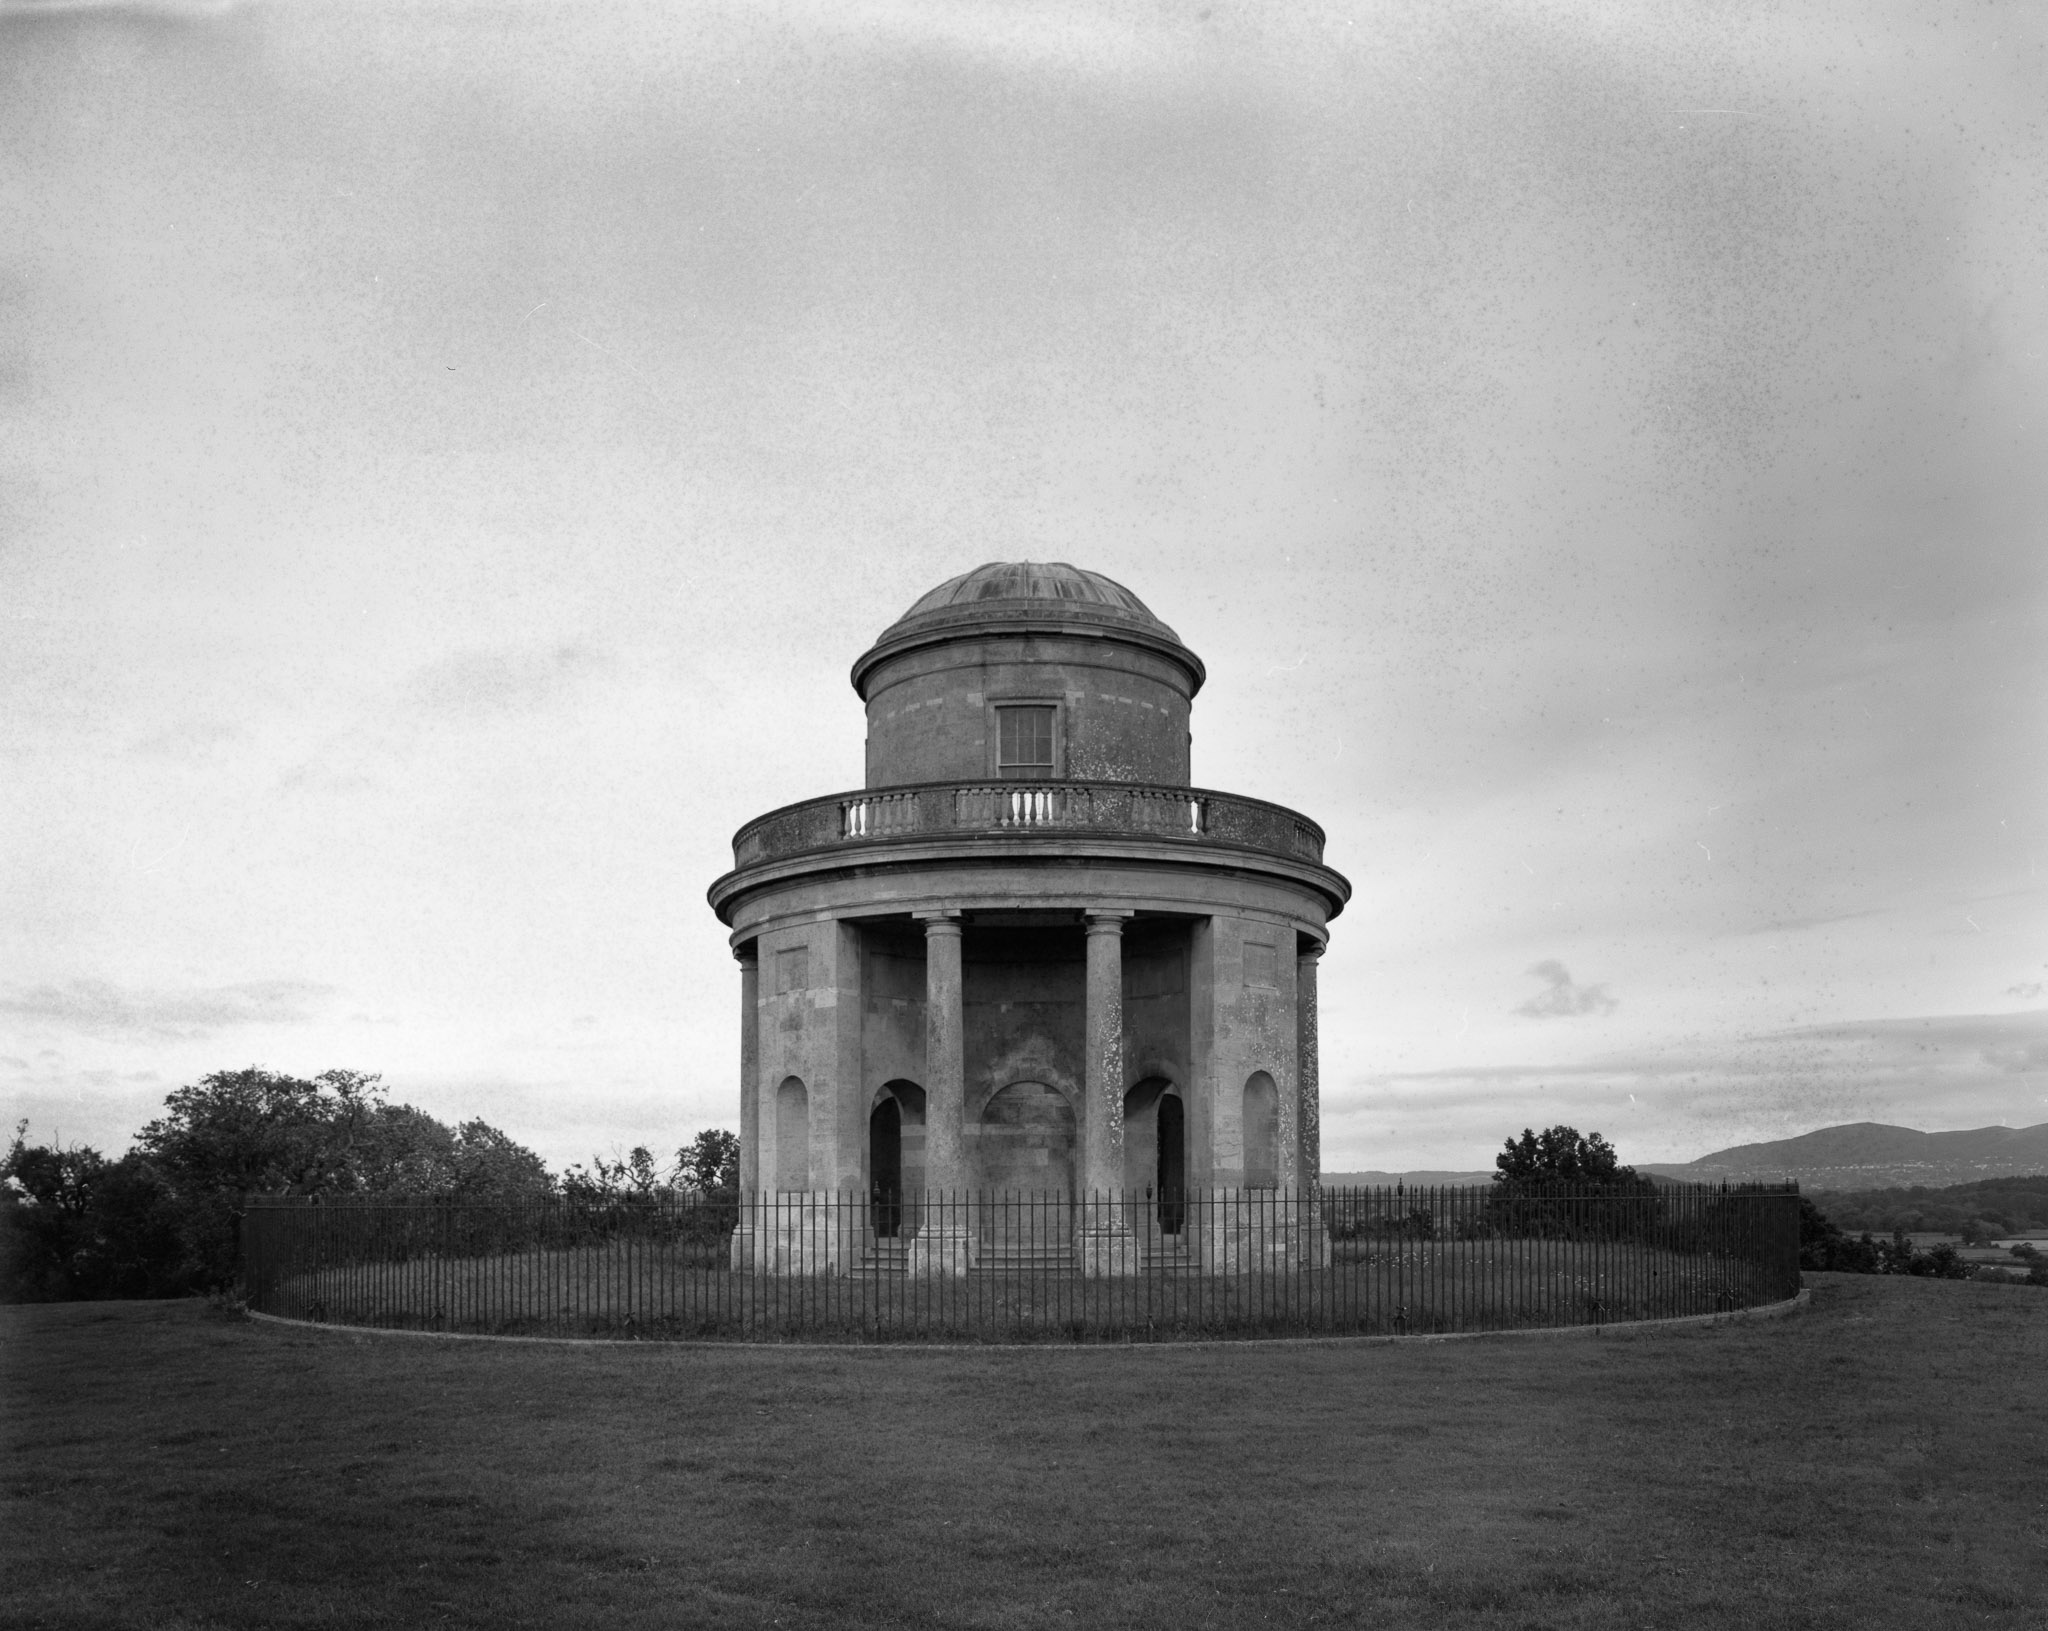
Panorama Tower – Tachihara Hope – 90mm f/8 – Expired Ilford Delta 100
First Test
The first test was a short jaunt out to the Panorama Tower on the edge of the Croome Estate. Having packed twice, I still neglected to bring my tiny spirit level, and the tower came out wonky.
I was keen to test my filters and spreadsheet. It was too windy to do a long exposure of the tower and the sky was too overcast to show much movement. I decided to set up on a tree, and to do so in the lee of the panorama tower itself. I was too far away, too wide, and there wasn’t enough movement.
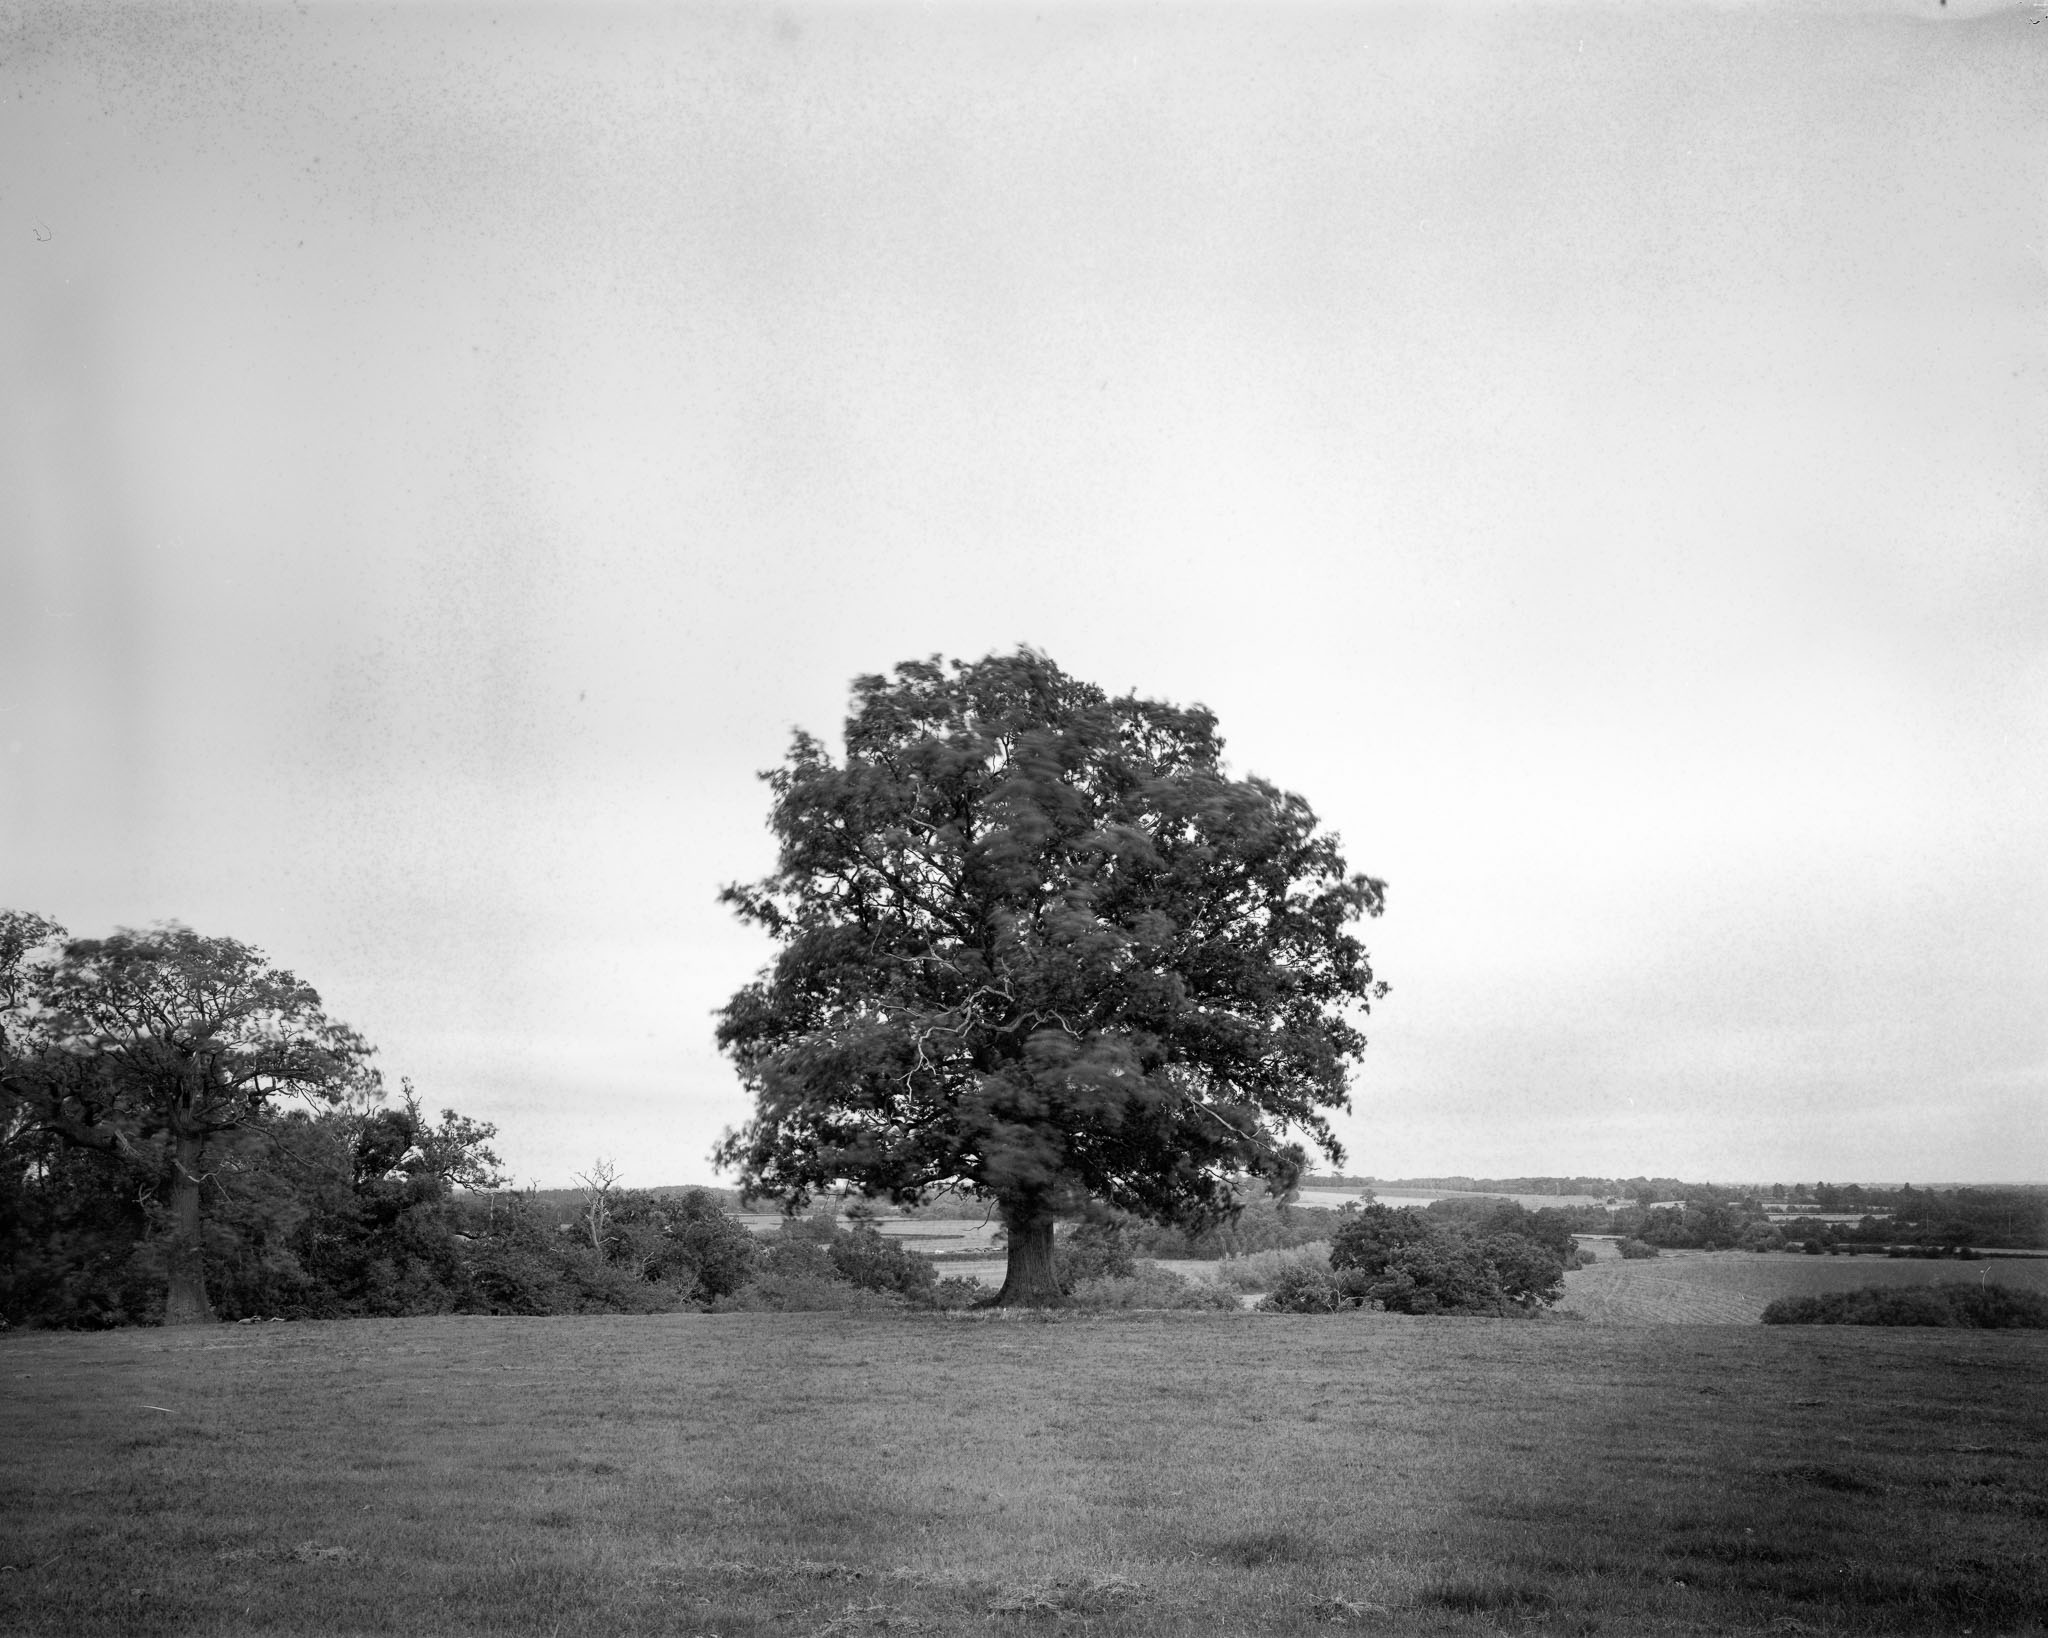
Tree – Tachihara Hope – 90mm f/8 – Expired Ilford Delta 100
Conscious that I’d probably not made art, I came home and photographed a sourdough loaf and my hands, for the latter, firing the shutter with my teeth. (I held it open for 17 seconds).
The exercise had proved that the spreadsheet, the camera the film and the meter were all working well. I had not performed as well as I should have, but I had managed to shoot, develop, dry and scan large format negs in a single day.
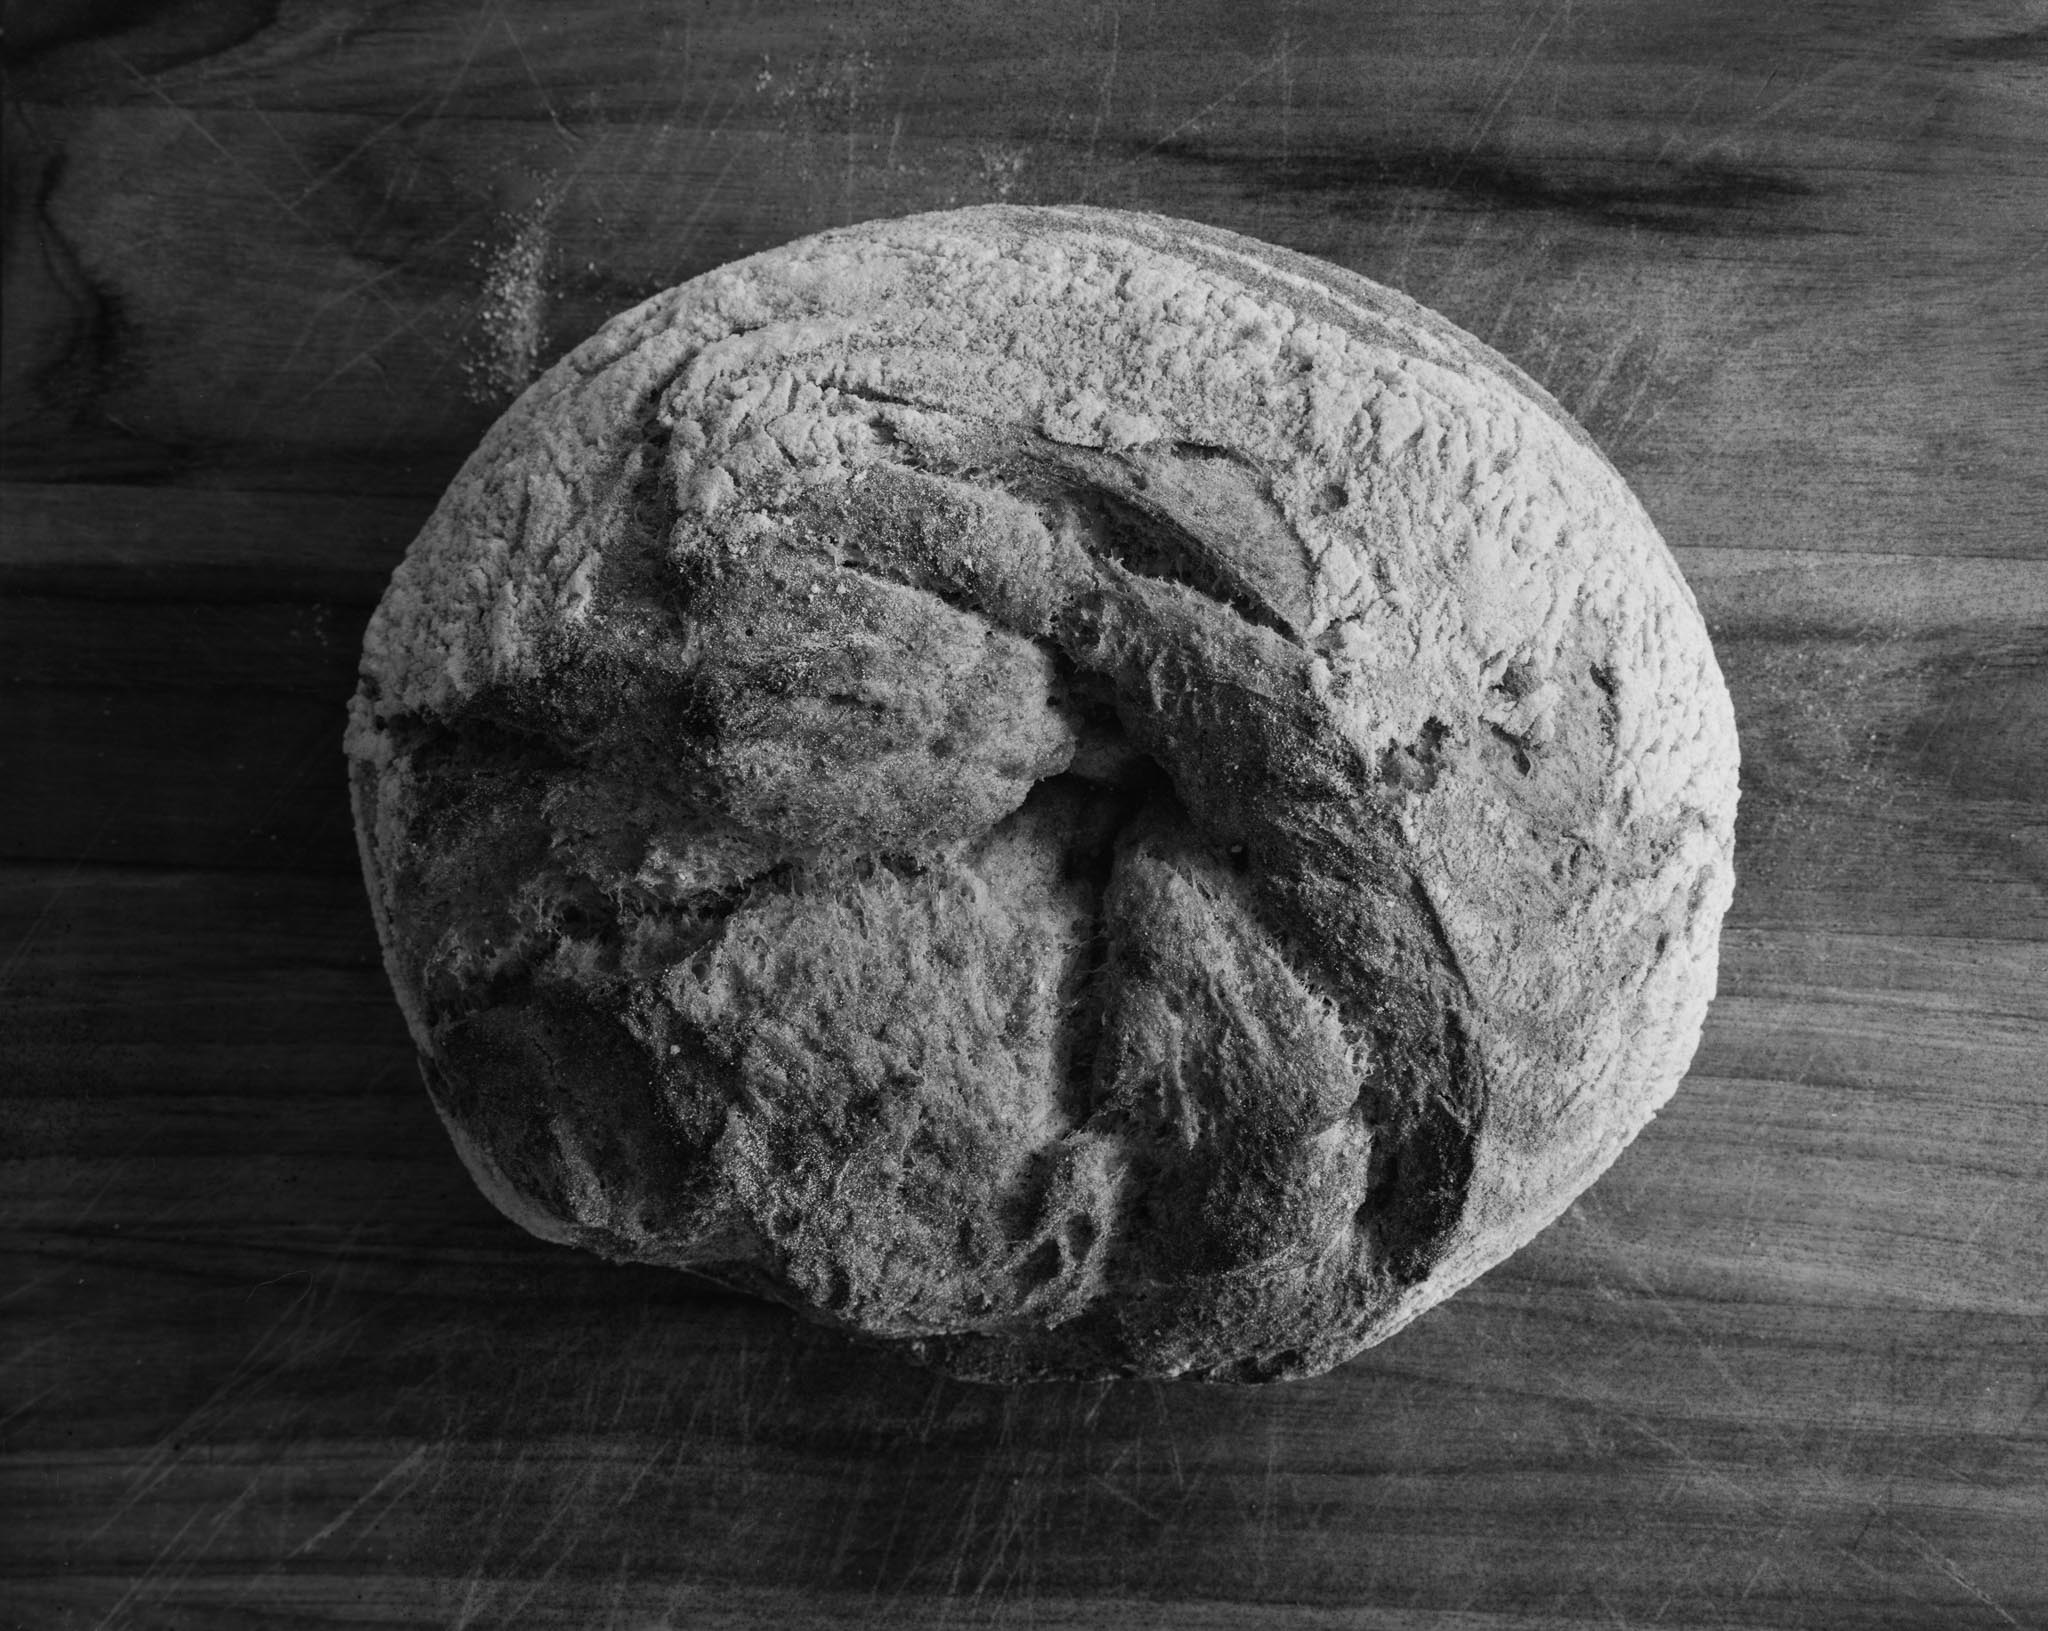
Sourdough Loaf – As Above
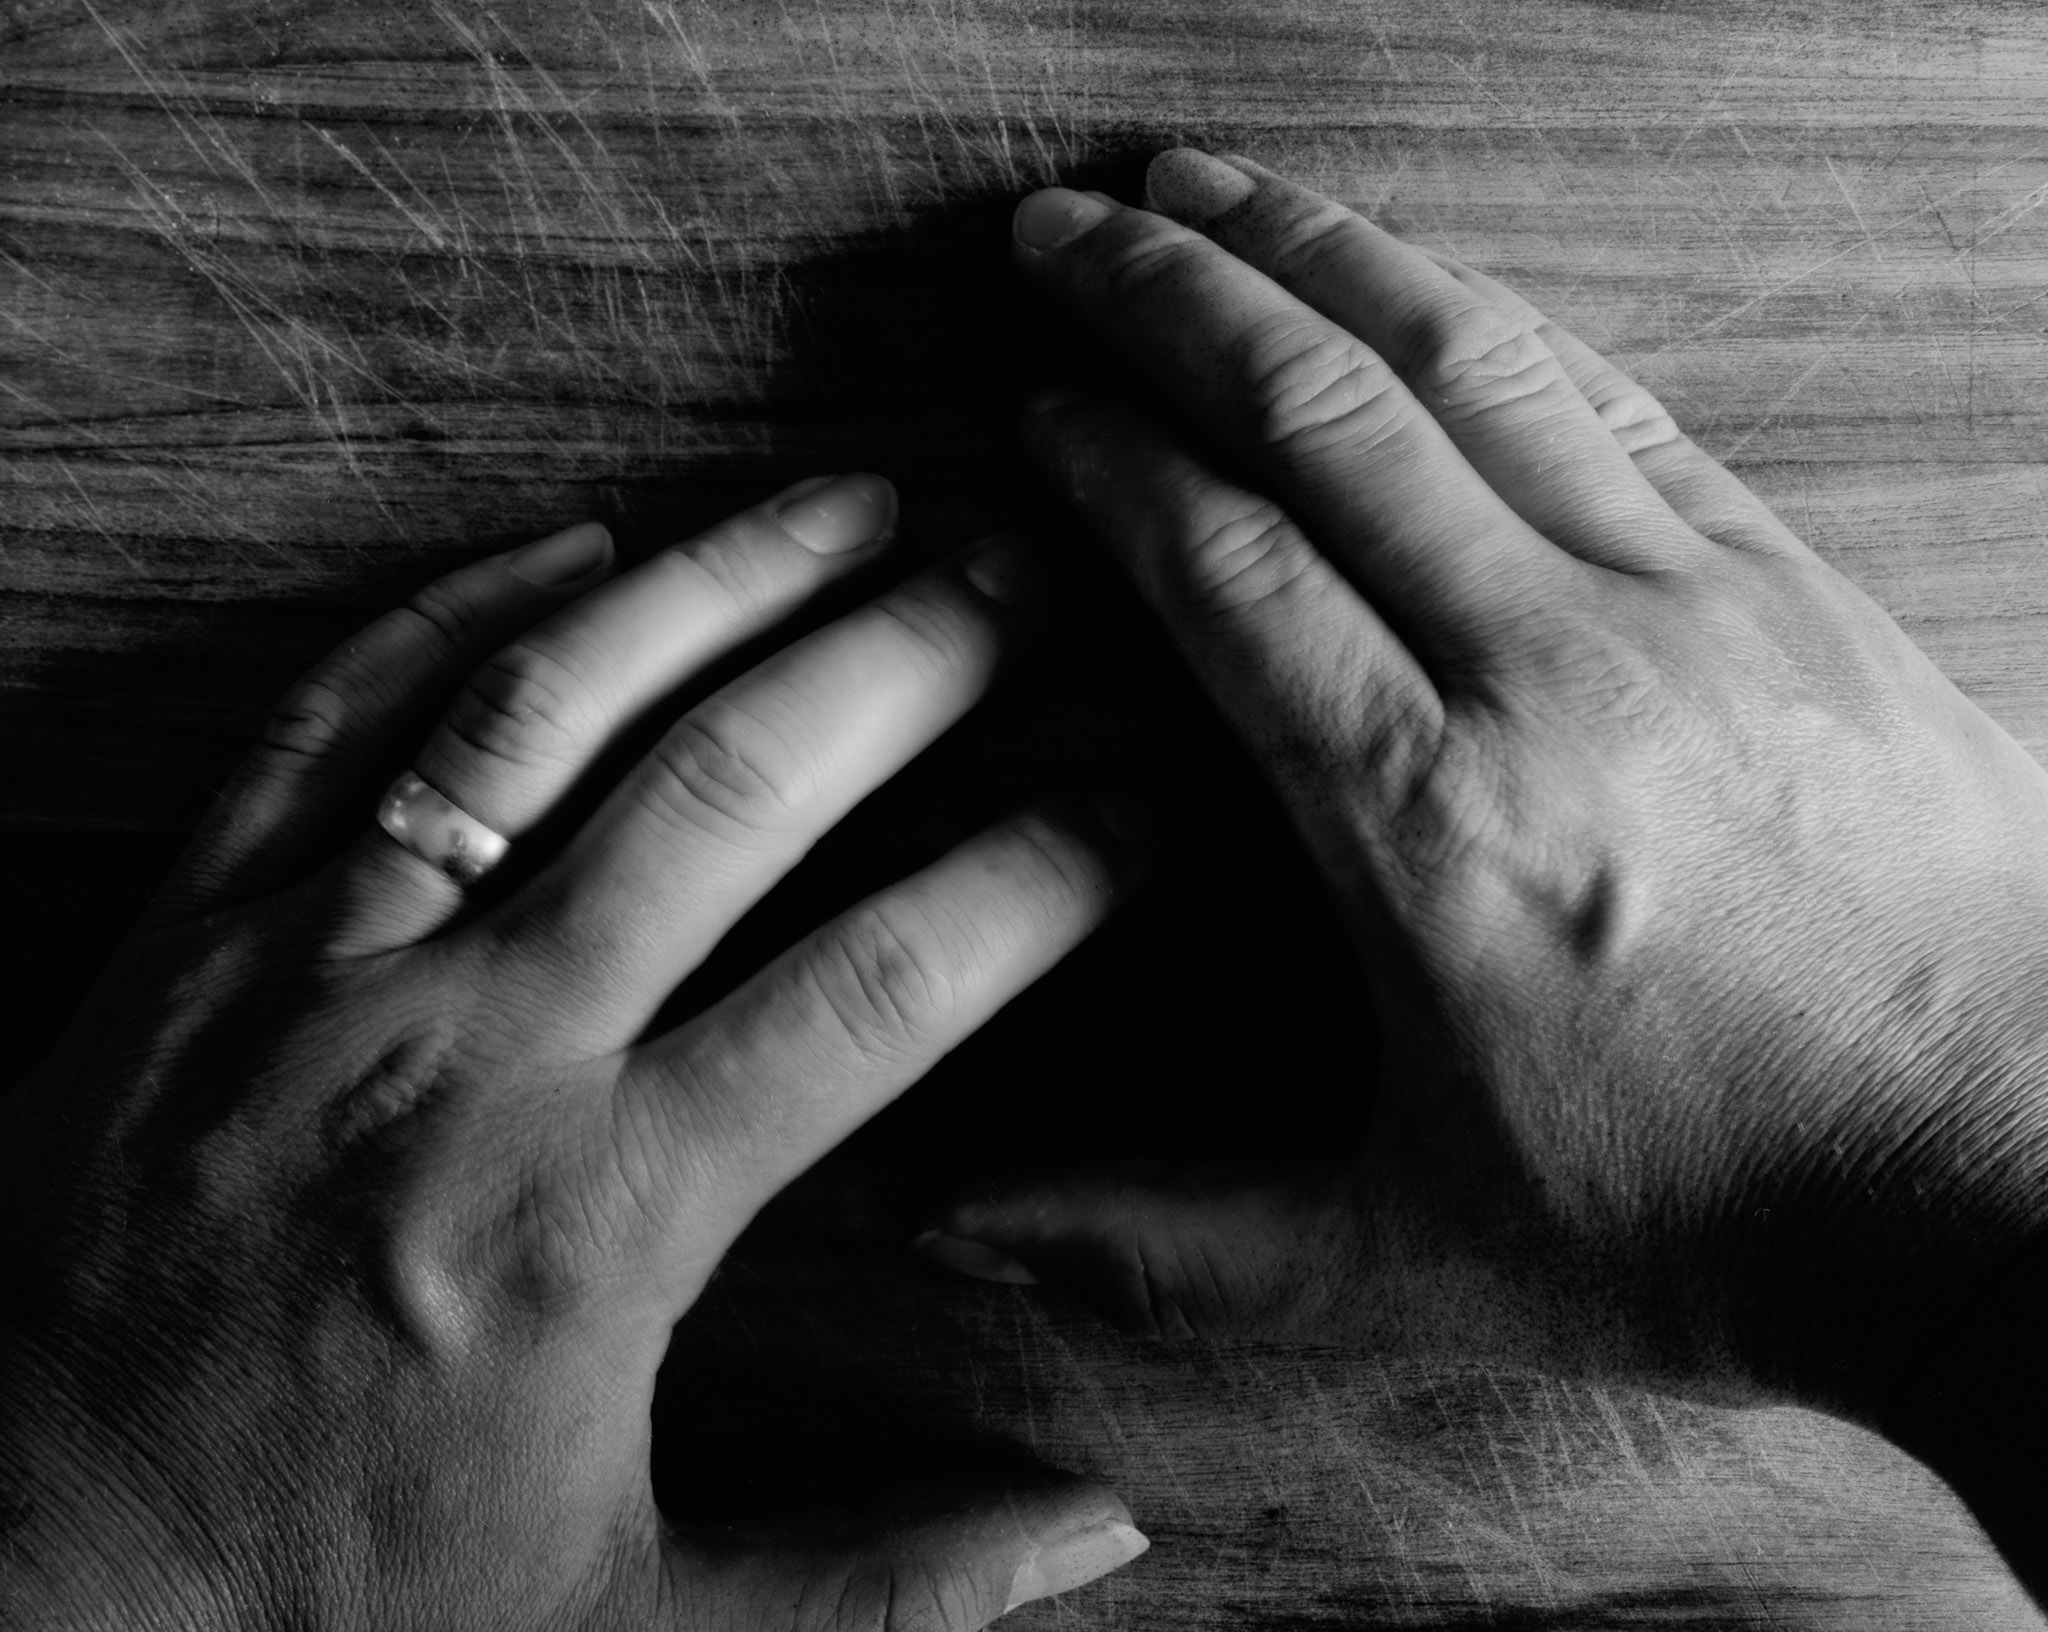
Sausage Fingers – As Above
The Cataract
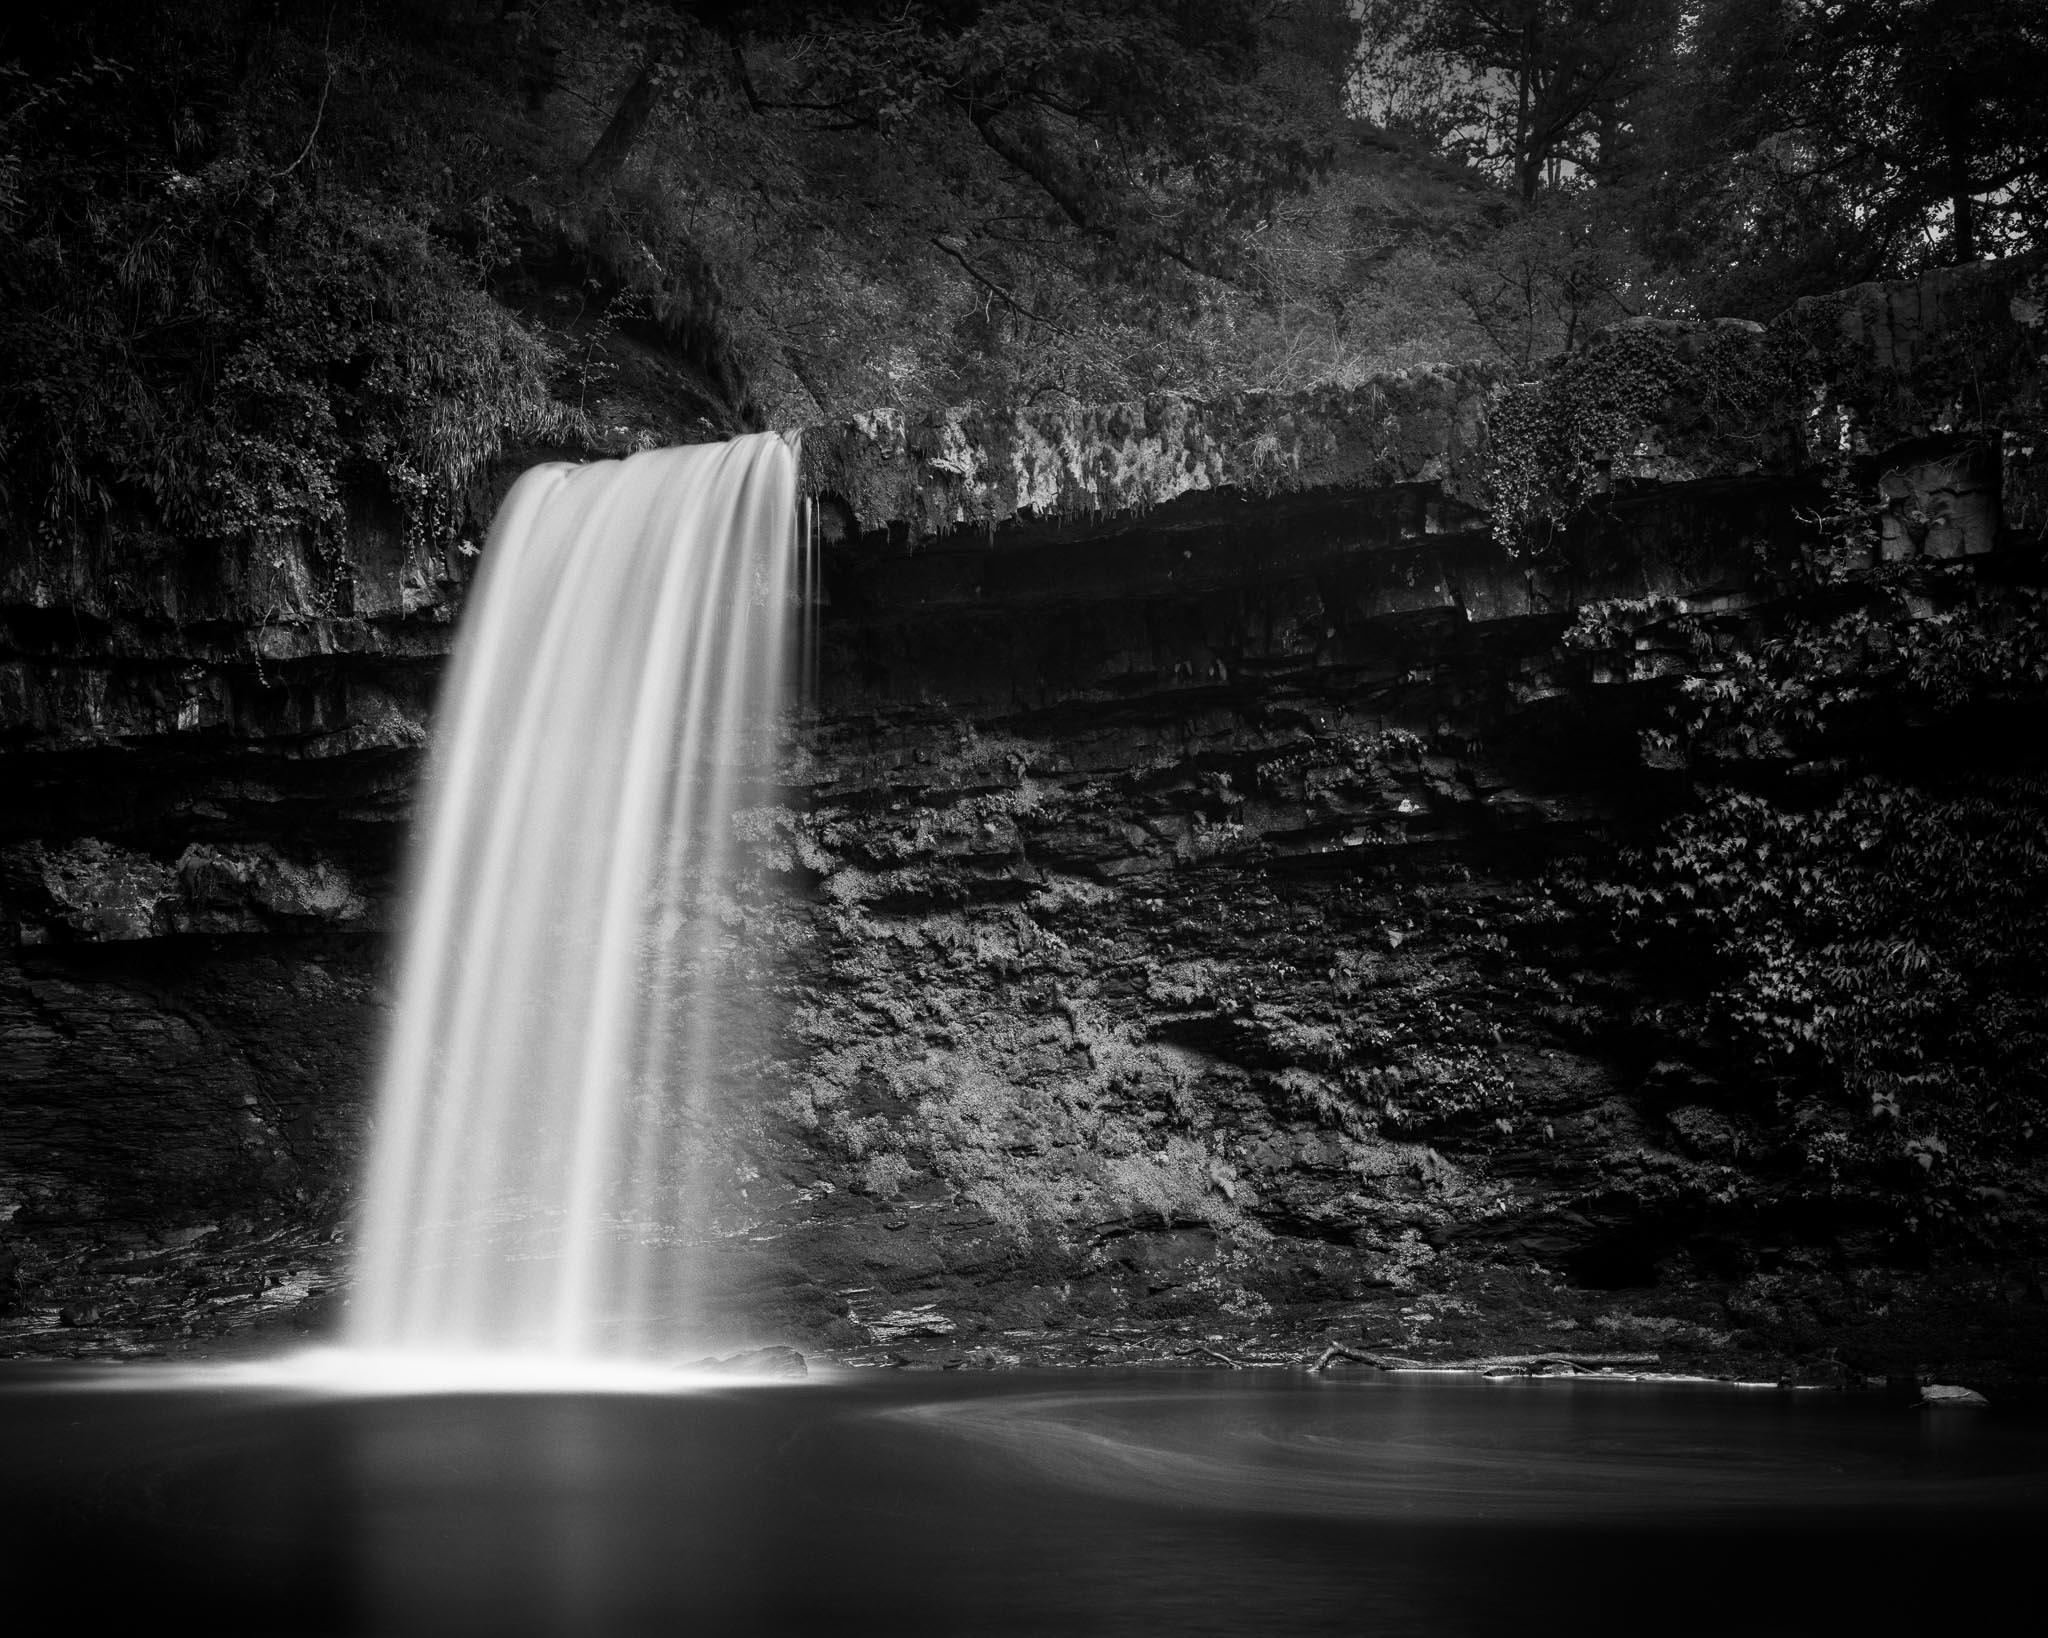
When the time came to make some actual, proper pictures I plumbed for waterfall country in Brecon, South Wales. I’ve been before a few times and taken a few milky waterfall photos, always digitally, and always in colour.
This time I was going to shoot the falls on film, in black and white and on the Tachihara. The inspiration for the photograph, was H.R. Giger’s Cataract.
It depicts a distant waterfall, dropping into mist in a biomechanical landscape that is unmistakably his. The waterfall flows even as the riverbed in the foreground has run dry.
I was excited and anxious to be going out with the Tach, confident that the camera was in the best condition it’s been in since it’s been in my care.
Now all I had to worry about was falling in the river, smashing the camera, ruining some film, wasting a day, and to generally end up wishing I hadn’t gone.

Waterfall and Tachihara – Ricoh GRIII
Sidearm
I took my Ricoh GRIII along, primarily as a lightweight sidearm. I realised quickly that it actually doubled as a really nice viewfinder.
Being able to visualise the different focal lengths is one thing, but the 28mm lens in the Ricoh is perfect for getting an idea of what you’ll see with the 90mm on the big camera. The Ricoh’s 50mm crop mode works for previewing what the 150mm f/5.6 will offer.
There were two set ups that I wanted to shoot, which I roughed out with the Ricoh once I arrived at the falls.
I wanted to use my polarising filter to control reflections from the surface of the water, and a 10 stop filter to blur the water’s movement.
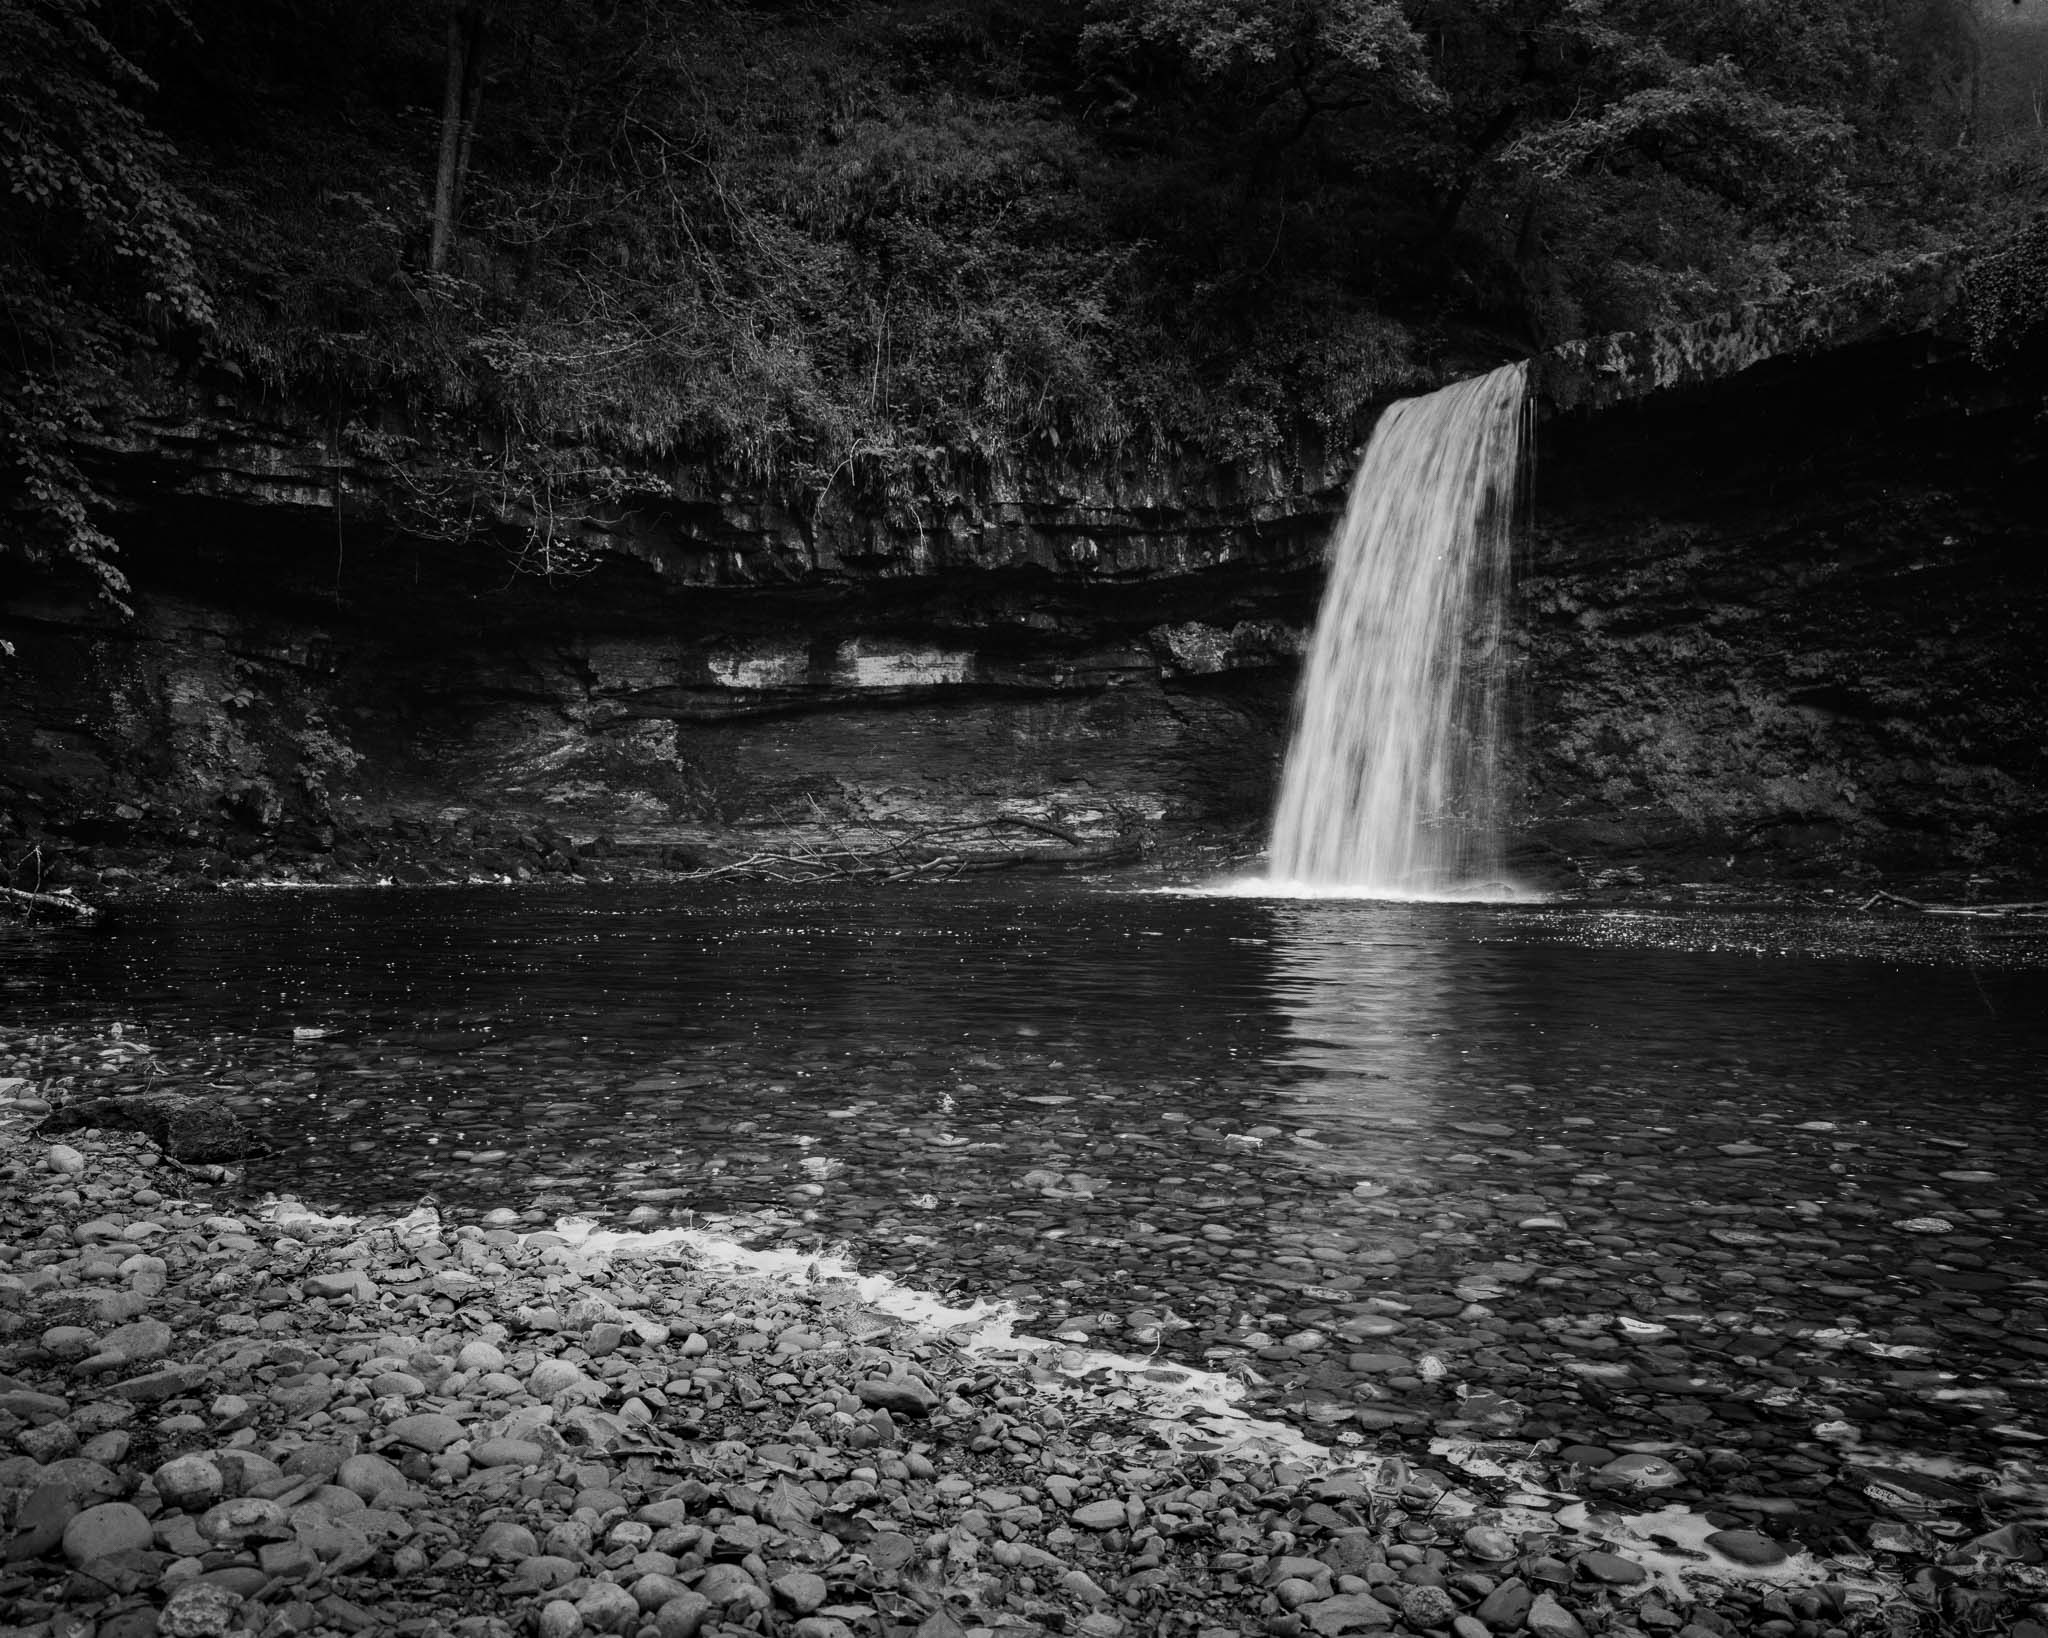
Frame 1 – Unfiltered
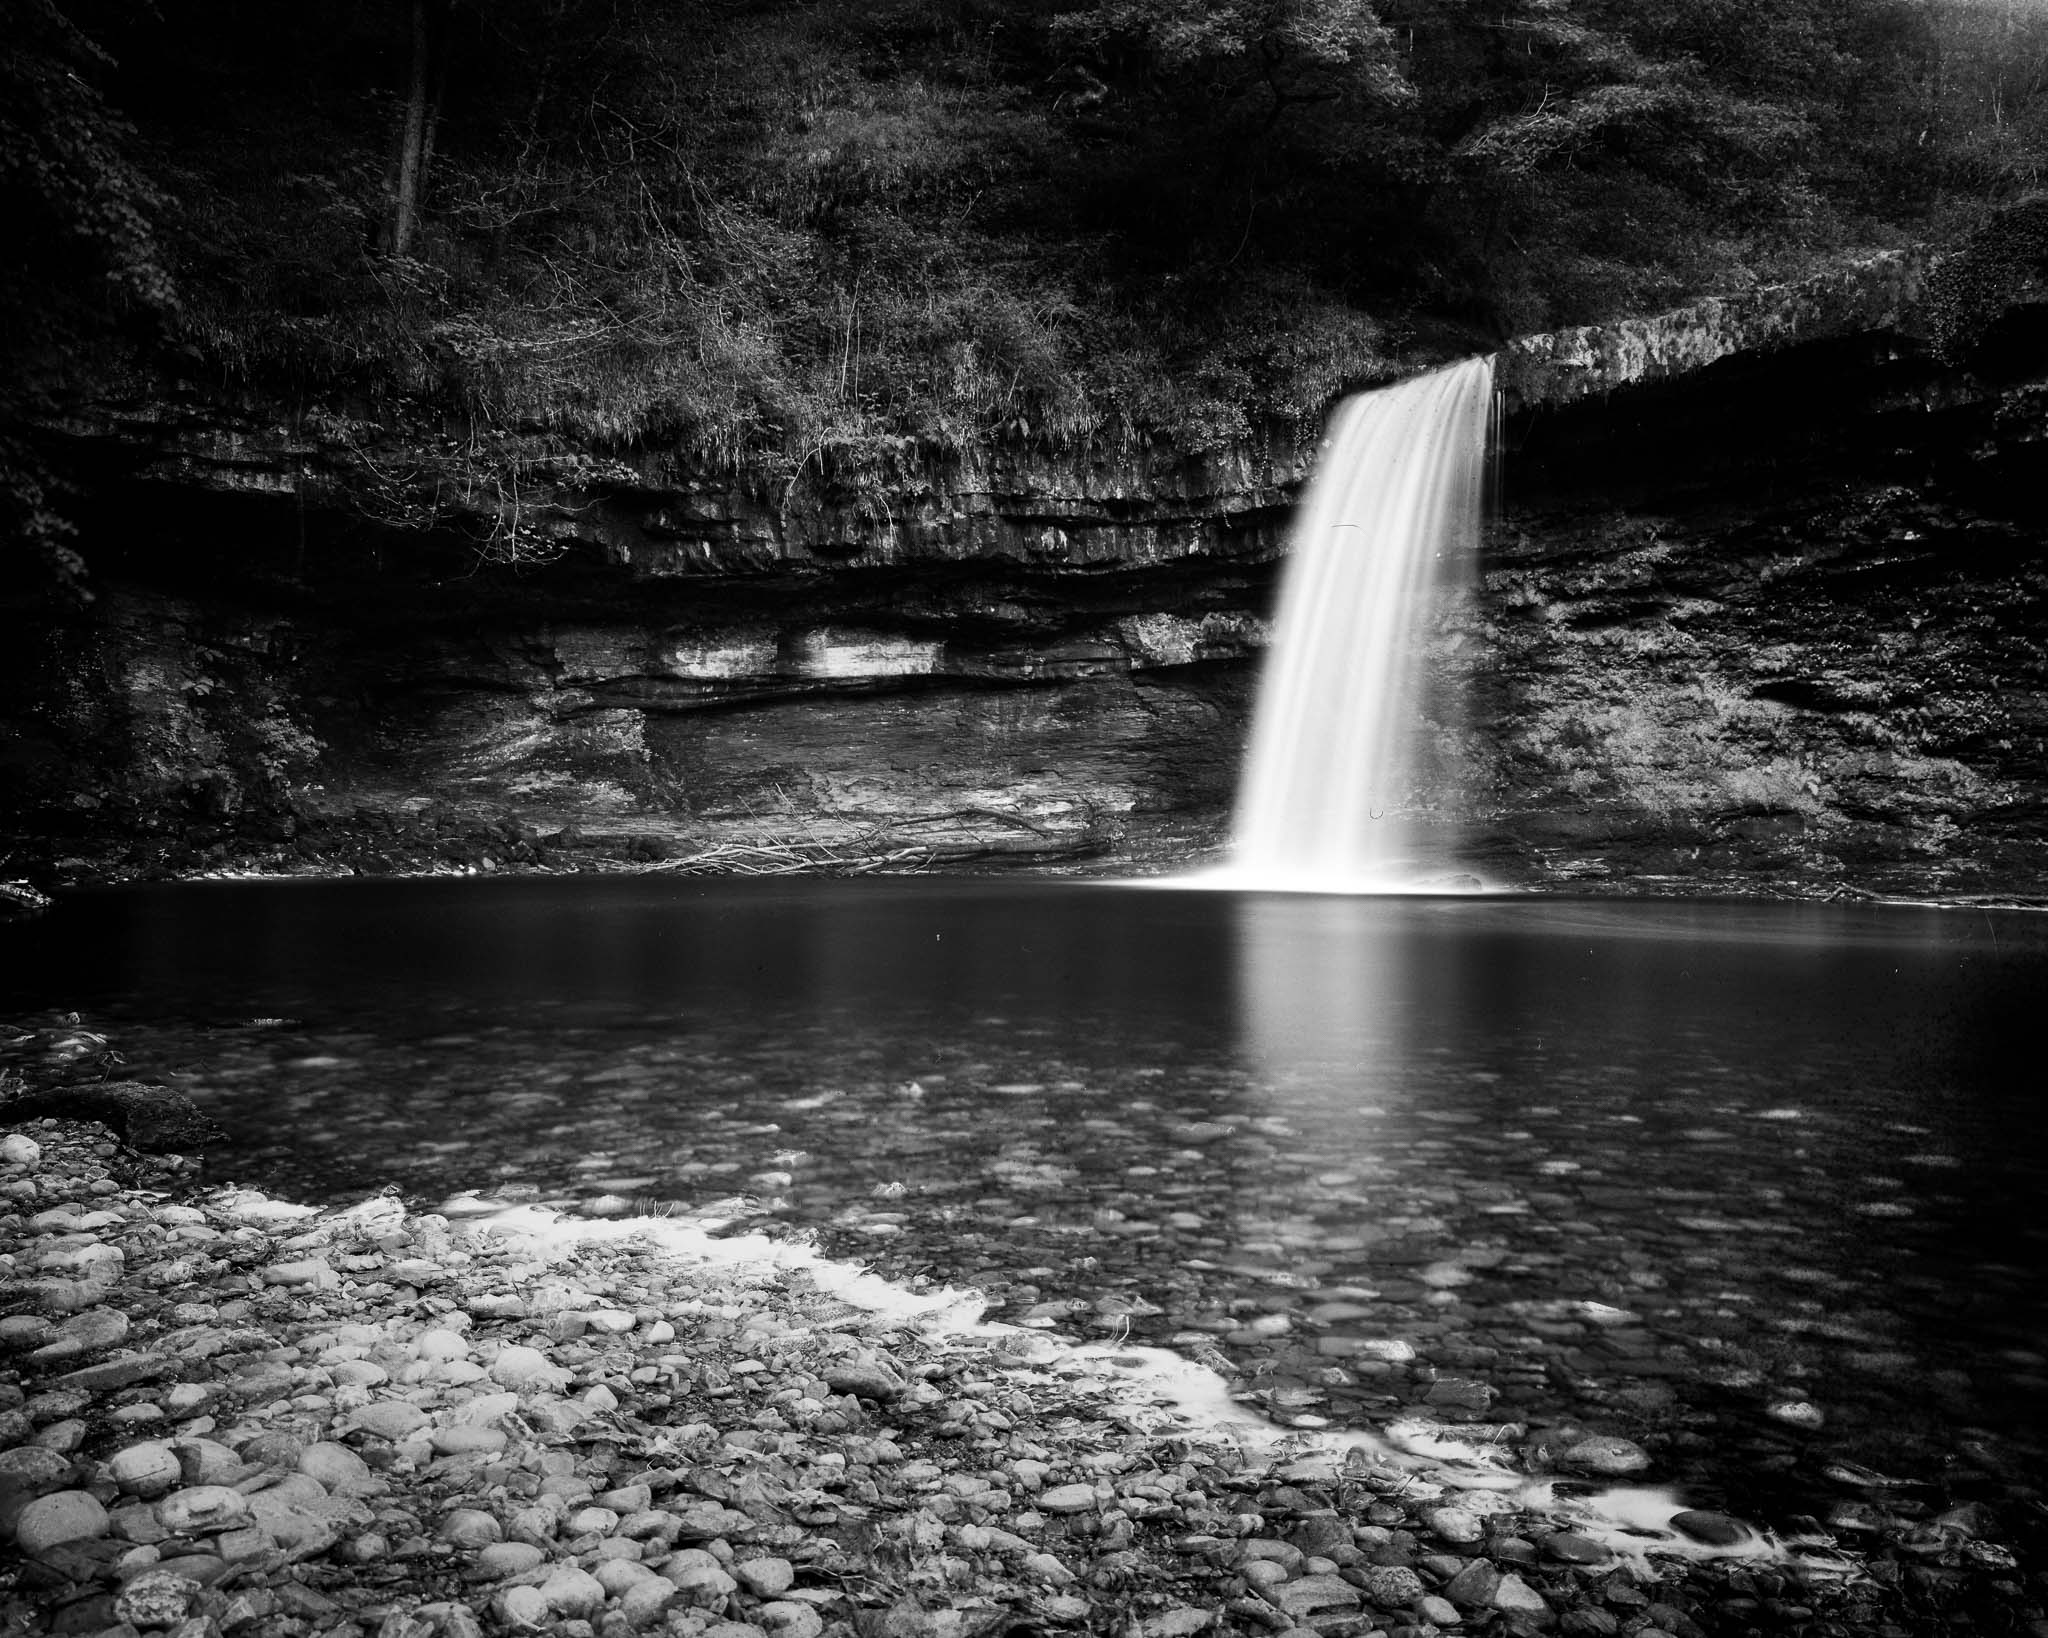
Frame 2 – 6 stop filter
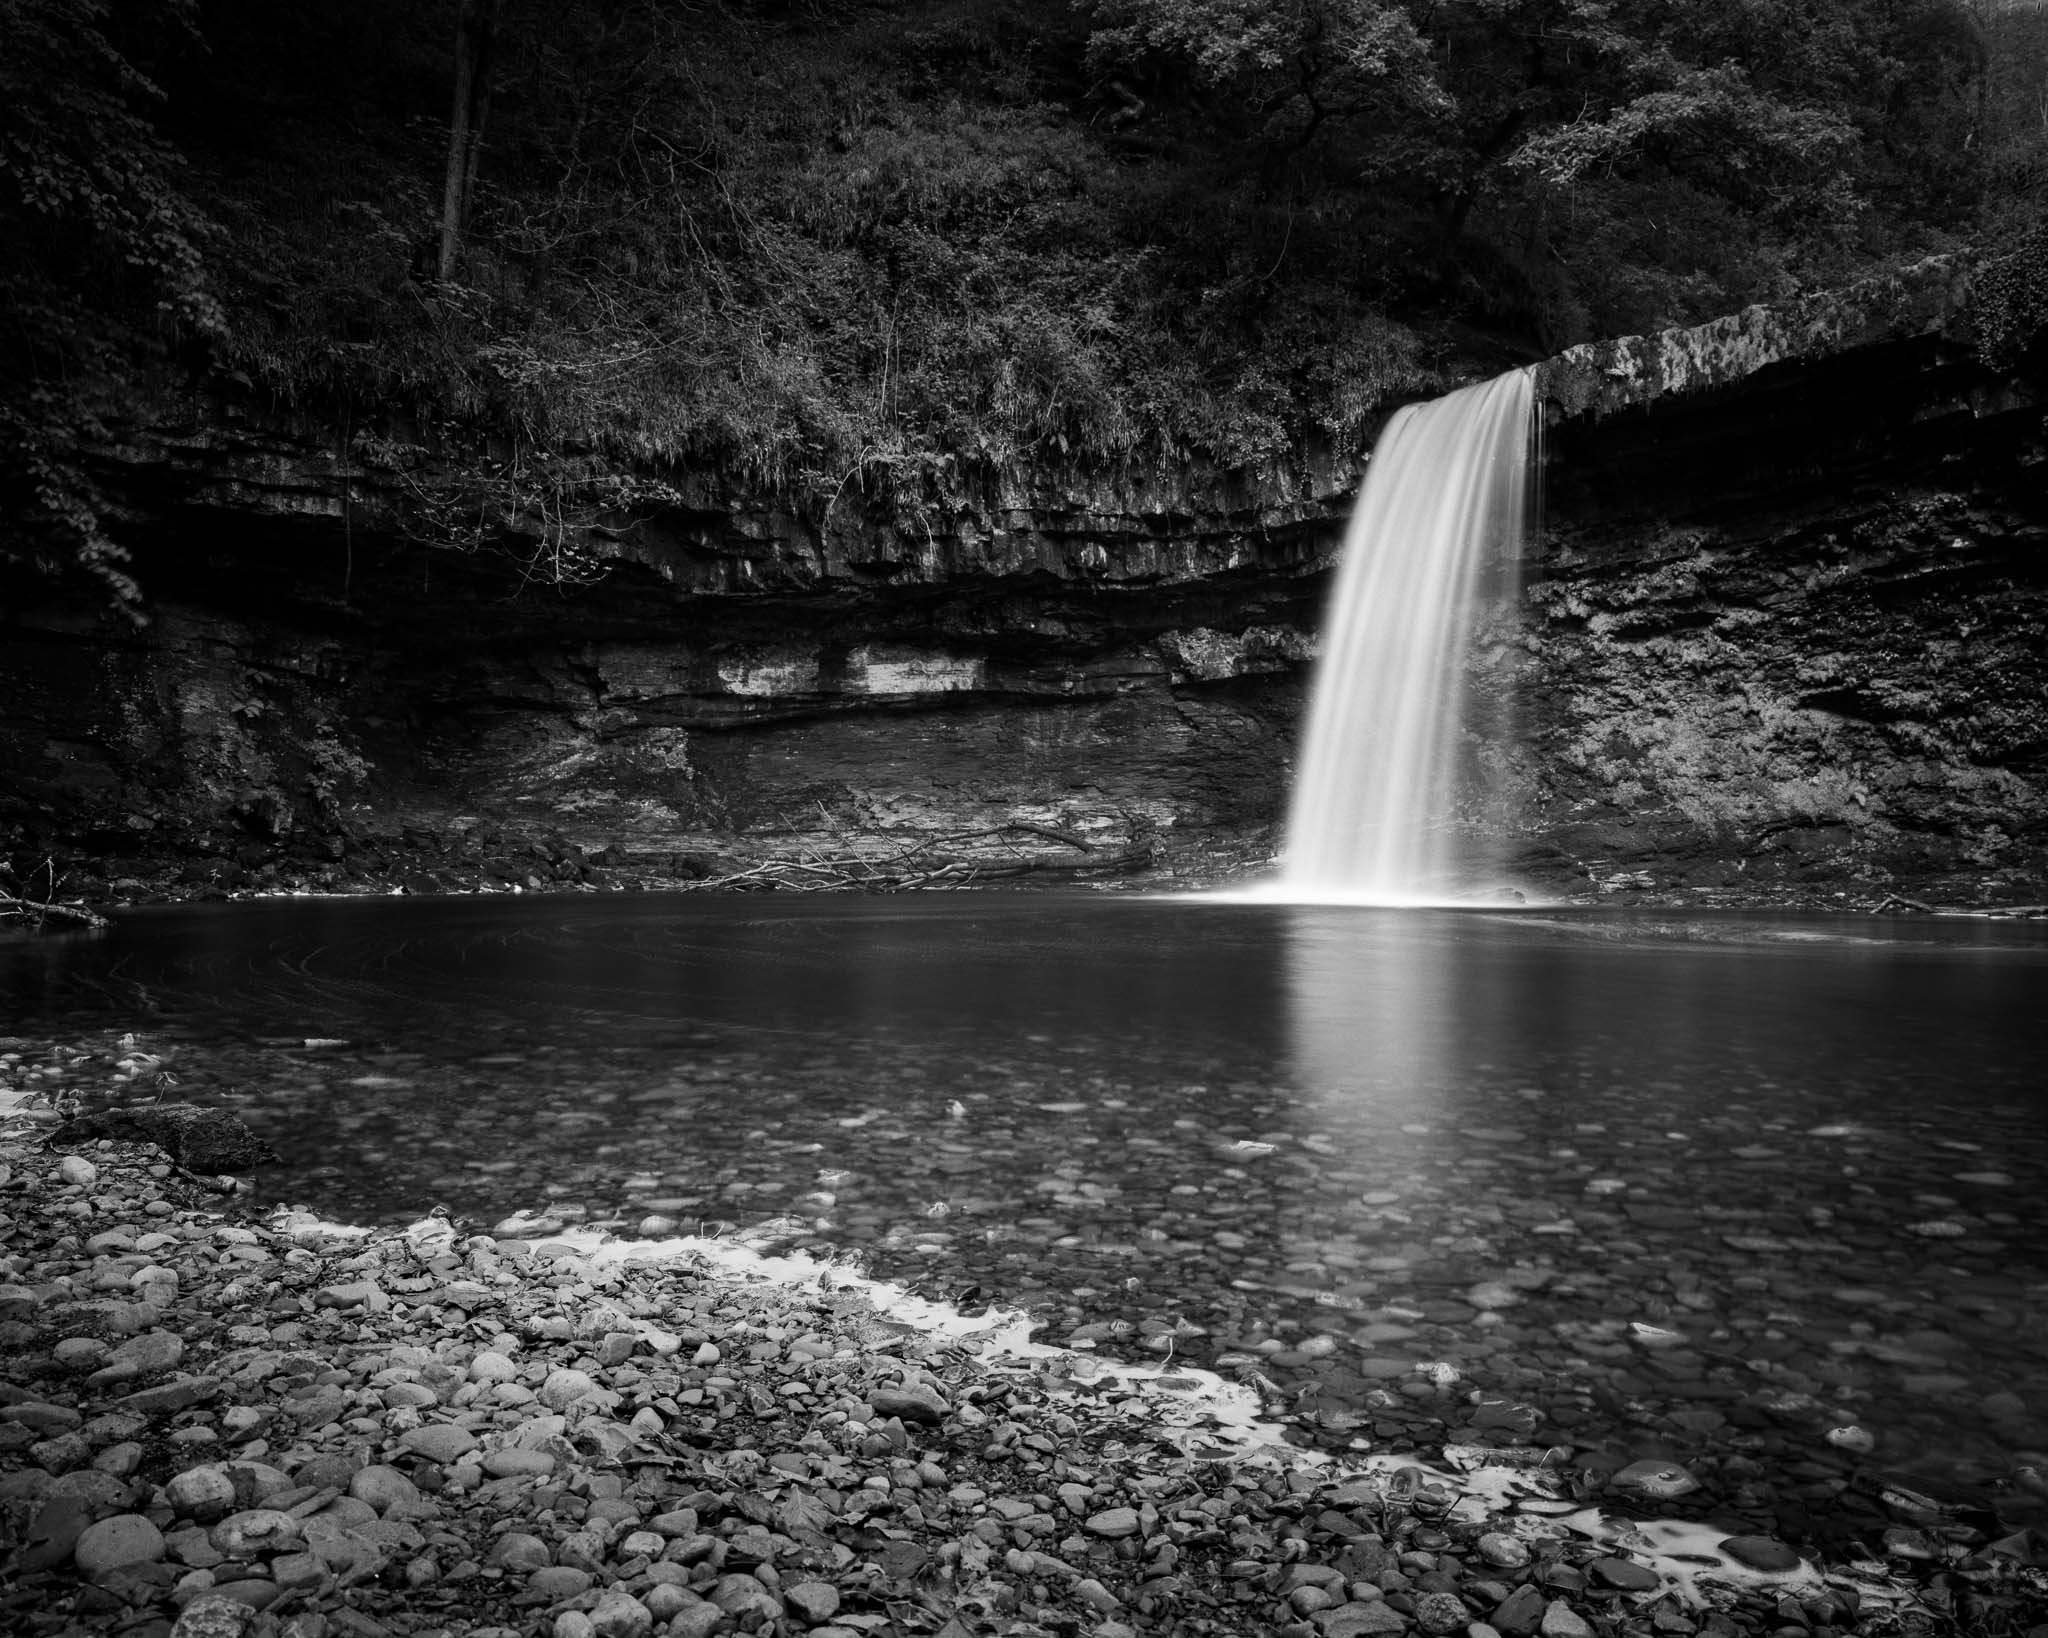
Frame 3 – 6 stop and polarising filter
My first set up was with new 90mm f/8, and once I was happy I shot an unfiltered picture. For my second exposure I added the 6 stop filter, which saw some movement during the exposure.
For the final shot with the 90mm I added the polariser to try and to control some of the reflections from the surface of the water. I hadn’t added the polarising filter to my spreadsheet so I estimated the light loss it was costing me.
It was nice that actually the light was pretty flat. There would be no sudden burst of sunlight to queer the exposure, and there was little wind, which meant no camera shake, aside from when I must have knocked the camera.
The second photo was closer and with the 150mm f/5.6. Again I started with a standard exposure, as metered. I followed this with a polarised shot.
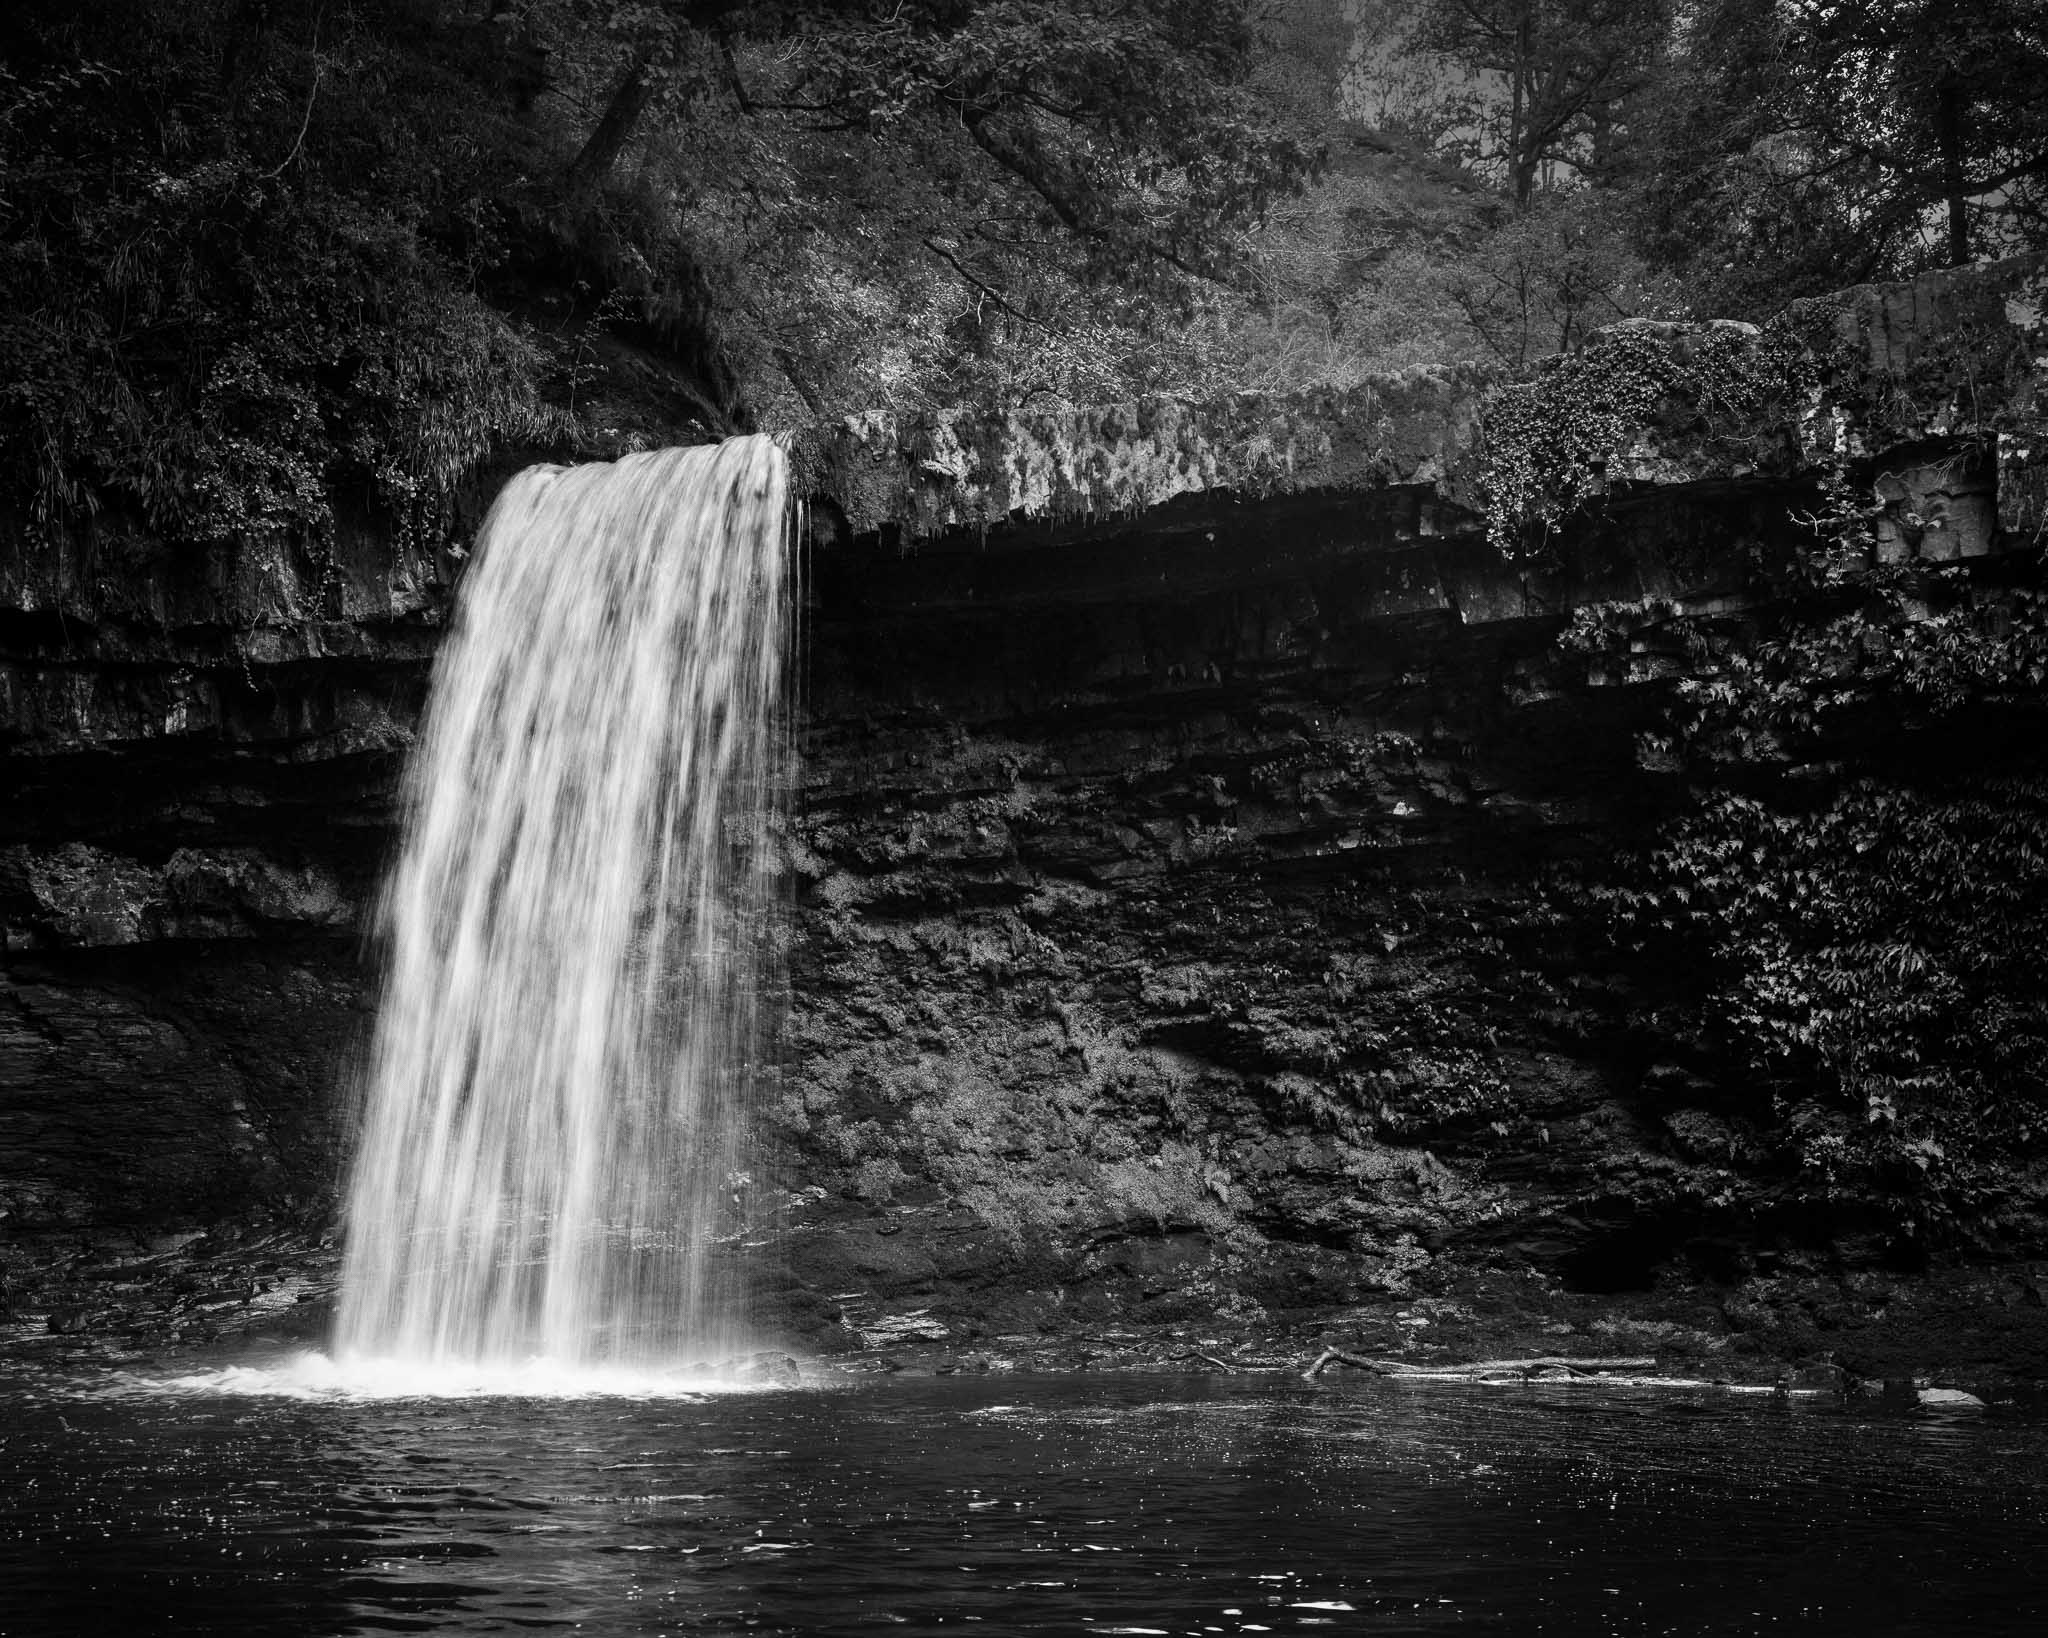
Frame 4 – Unfiltered
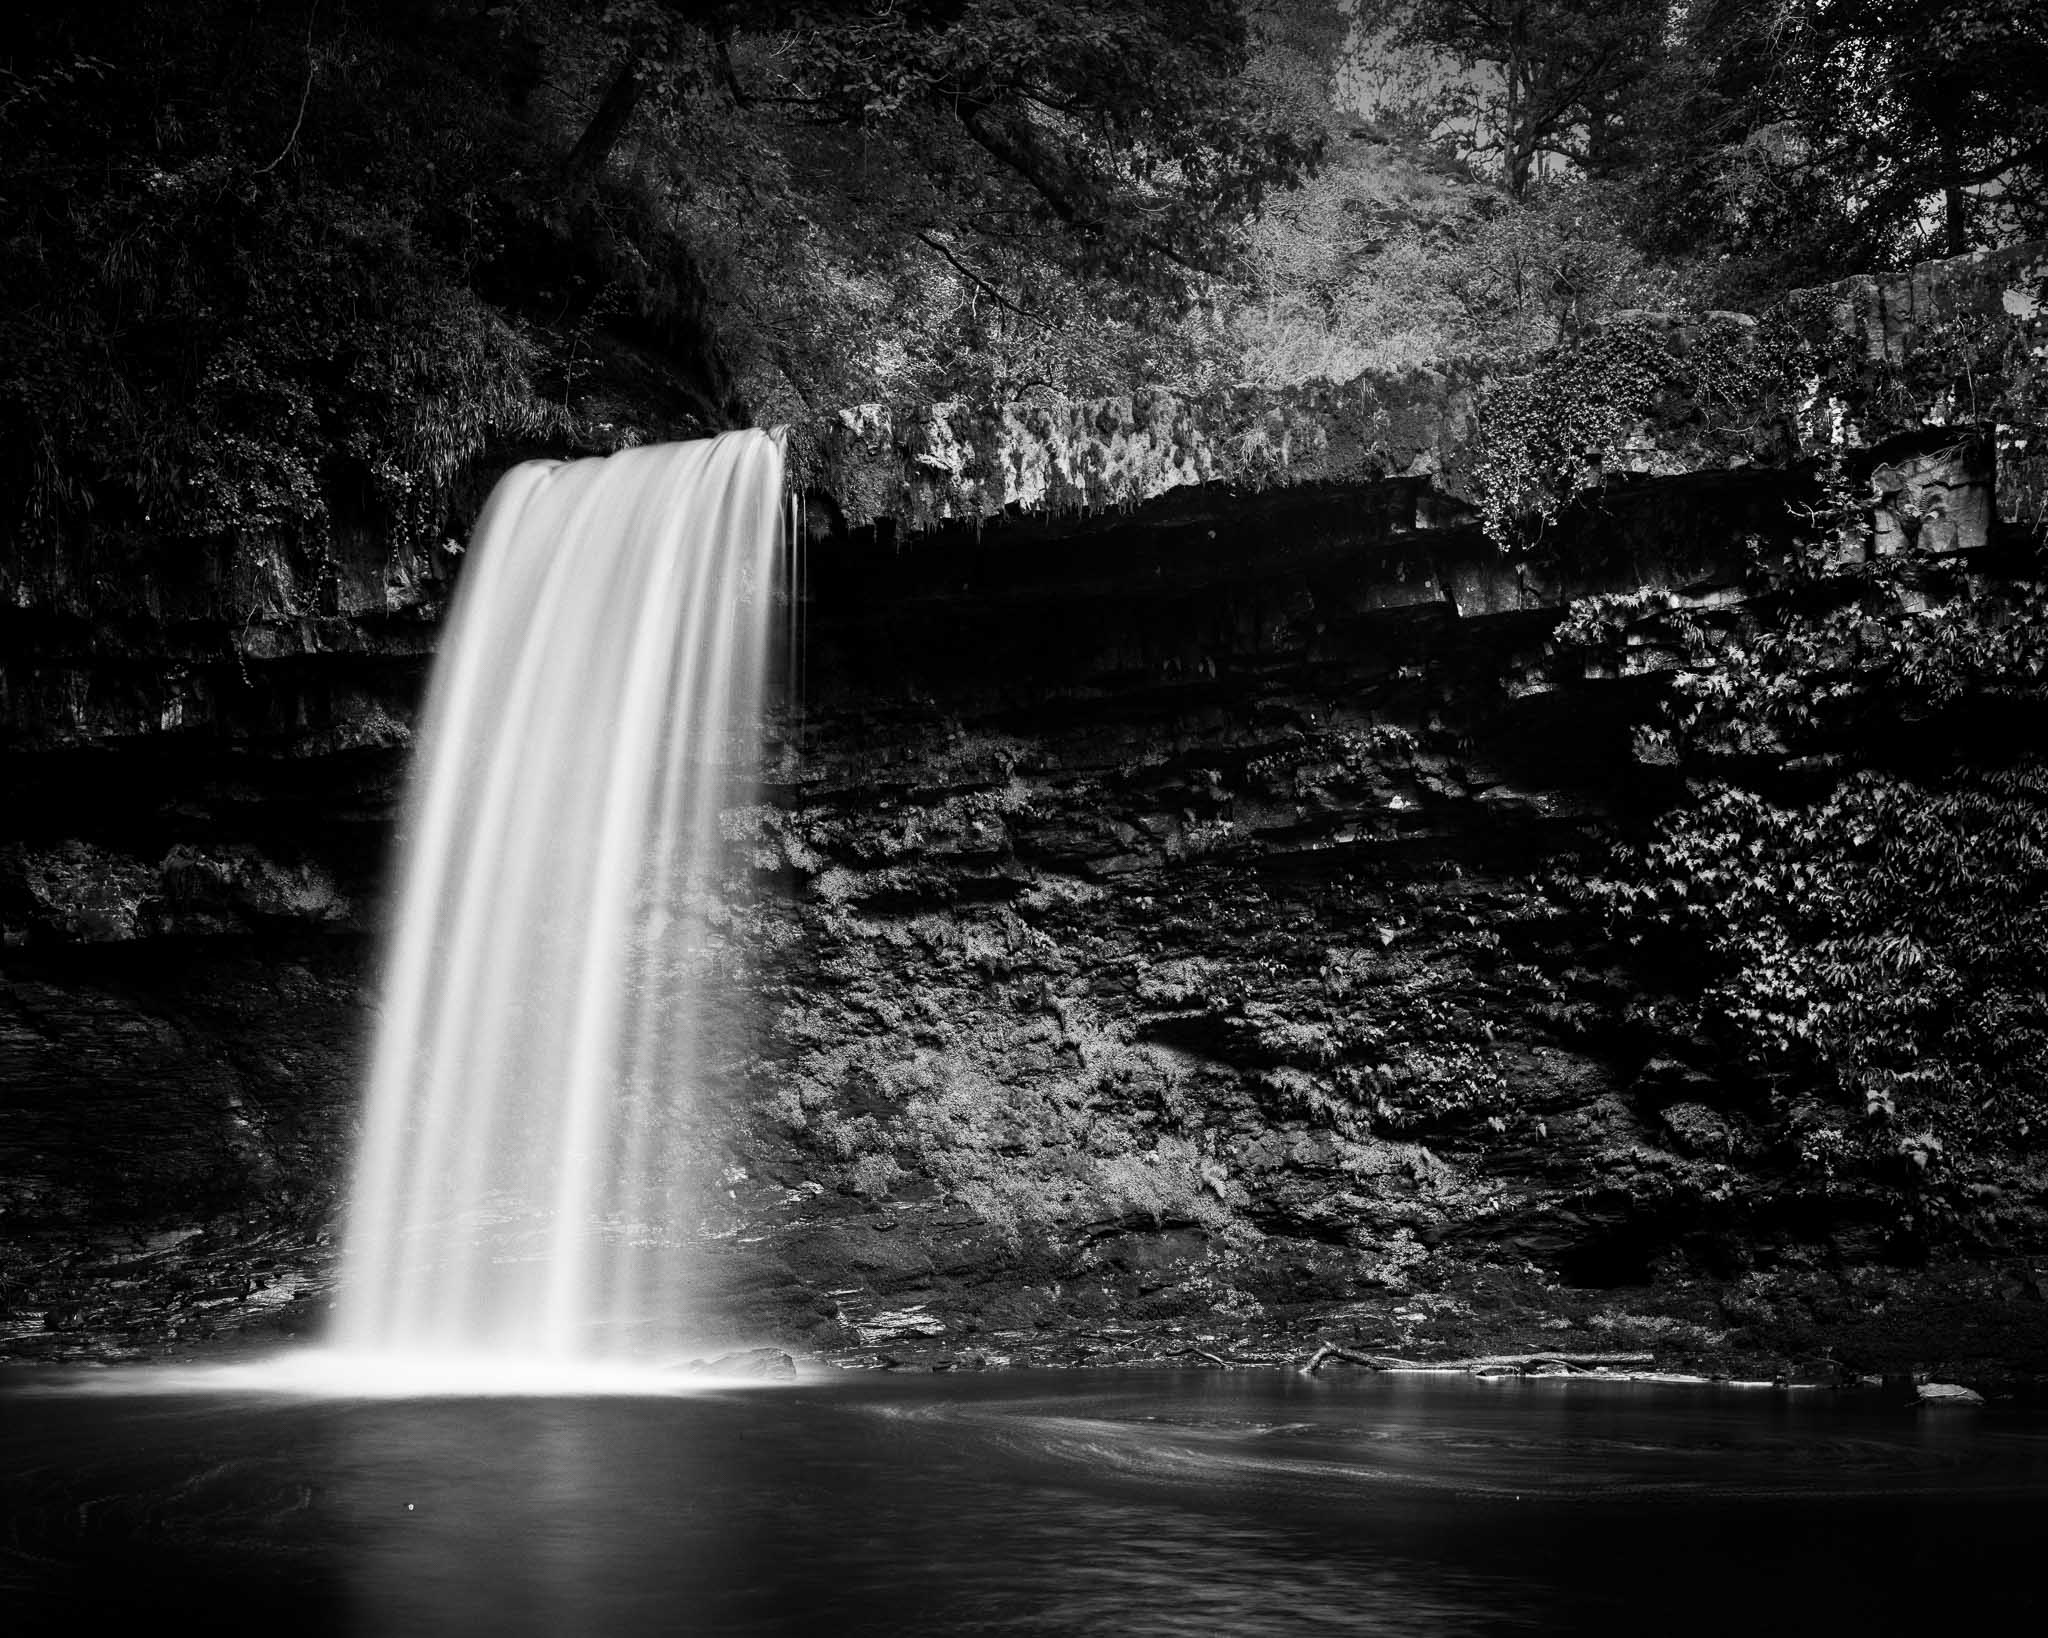
Frame 5 – 6 stop filter
The final shot of the day was the winner for me. A polarised photo and ND filtered shot of the falls, which did everything I wanted.
Frame 6 – 6 stop and polarising filter
Epilogue
So I drove 230 miles, hiked a few more, and then spent two hours taking 2 photographs (with some filter brackets).
The exercise soaked up an entire day and made me flit from anxiety to excitement for days: whether I should go, a growing reluctance to develop the negs in case they were crap, etc.
As the culmination of a journey that began months ago, when my eyes snaked up the shelves in my studio to settle on my prodigal camera, it was totally worth it.
I really like the pictures, and I really enjoyed the challenge, (it’s easier to say that when you like the pictures). I’ve since tweaked my spreadsheet to include a new column. It now allows me to toggle the polariser on and off, in addition to using a stopper and calculating reciprocity.
I’ve bought a copy of the Kodak book of Large Format Photography, now I need a new project.