

Down a Rabbit hole
Having ramped up from playing with Instax at the beginning of the lockdown, to developing black and white film, and then into developing colour film, I decided to take things one step further.
Home developing colour film, alongside speed, has another advantage: the chance to mess with the process.
Most labs understandably have automated machines that can process film from beginning to end, making them ideal for bulk processing. The whole point of the C41 process is that it develops all C41 film at the same temperatures, for the same lengths of time.
This means that a roll of Portra 800, Ilford XP2, and Fuji 400H are all engineered to work in the same chemistry, can pass through the same machine, in the same batch, for the same length of time.
So far, so awesome.
It does mean that messing with the process becomes a challenge. Push-processing, cross-processing, or bleach-bypass become difficult, impossible, or just plain inconvenient.


I tend to be somewhat lazy and demanding when it comes to chemistry. Once I’ve found a product that works, I tend to stick with it. All of the black and white film I’ve ever developed at home has been developed in Ilfotec DDX. It’s really nice, more expensive than some other options, but I bought a litre, it worked, and I’ve been buying it ever since. There are enough inconsistencies in my practice without messing with the chemistry.
Likewise all of the colour film I’ve developed at home has been developed in the Fuji Hunt Express C41 kit. I bought one, it worked, I bought more.
The Fuji Hunt kit is a four bath system so it uses a discrete bleach solution rather than using a ‘Blix’ or combination bleach-fix solution, (like the popular Tetanal kit). This adds time and complexity to processing film, but given the success I’ve had in the past I’ve seen no reason to change.
The fact that I use this kit is more by luck than design but it affords me the option to skip the bleach, or bleach-bypass process, (BPP).


What Bleach-Bypass processing does
When colour film is processed the first solution is a developer, which reacts with silver and dye-couplers in the emulsion to create a colour negative with a metallic silver residue.
The bleach then reacts with the metallic silver left behind turning it into silver halide. Once washed, a fixer solution removes the silver halide leaving a colour negative. This can then be stabilised ready for scanning or printing.
The result then, if one skips the bleach, is to retain the silver in the negative, fixing it alongside the colours created by the dye-couplers. Effectively you have a black and white photograph held within a colour one.
The result is a reduced saturation, and a silver, contrasty look. It can often appear muddy or murky, and highlights are more prone to blow out, but it can also have a metallic grittiness that can suit the right subject matter.
In motion pictures it has been used since the late 1950s in various forms, with some popular later examples including David Fincher’s Seven and Stephen Spielberg’s Saving Private Ryan.
In movie making the film is processed a number of times, first into a negative, then into an interpositive print for editing, and eventually into a projectable print. This means that the original negative can be developed normally, and the bleach-bypass process can be applied to the interpositive print, safeguarding the original footage should the effect of the BBP be deemed too intense.
I don’t have the option to do this, it is all or nothing.
There are also labs that offer partial bleaching for movie film, but I’d be too anxious about inconsistency across the negative to pull the bleach early.


Further into the warren
There was a point as I wandered down this rabbit hole where I wondered whether I was more concerned with doing this because I could do it, and not because I should do it. I then realised that the same argument could be applied to almost everything I do, and doubly so to film photography.
Some of the research I read suggested under-exposing the film if one planned to bleach-bypass it. The reasoning is that because the silver is retained, fine detail in highlights can be lost when shooting at box. By under-exposing by a stop you can account for the retained silver and keep some of that information in your image.
Portra is known for its excellent dynamic range. The fact that you can over expose by 4-5 stops means that you can, if you’re like me, still shoot it at wide apertures on sunny days when your camera won’t go above 1/1000th of a second. Given this latitude I wasn’t sure if the under-exposure would be necessary.
By taking multiple photographs of the same subjects and varying my exposure from box to one stop under-exposed I could get an idea of whether this under exposure is necessary when shooting Portra 400 for BBP.
The Shoot
I wanted to use my Hasselblad for the shoot for a number of reasons. The first is that it would be quicker to shoot 12 frames than 36, the second is that I have metered prism for it which would make tightening up my exposure that little bit easier.
I’ve also been feeling guilty my underuse of my of Hasselblad 120mm f/4 Makro lens. I bought for portraiture a few years ago and haven’t used it enough. Given the shortage of subject matter during lockdown, and the upcoming (and socially distanced), meeting in the garden with family, it seemed like a nice chance to make some portraits.

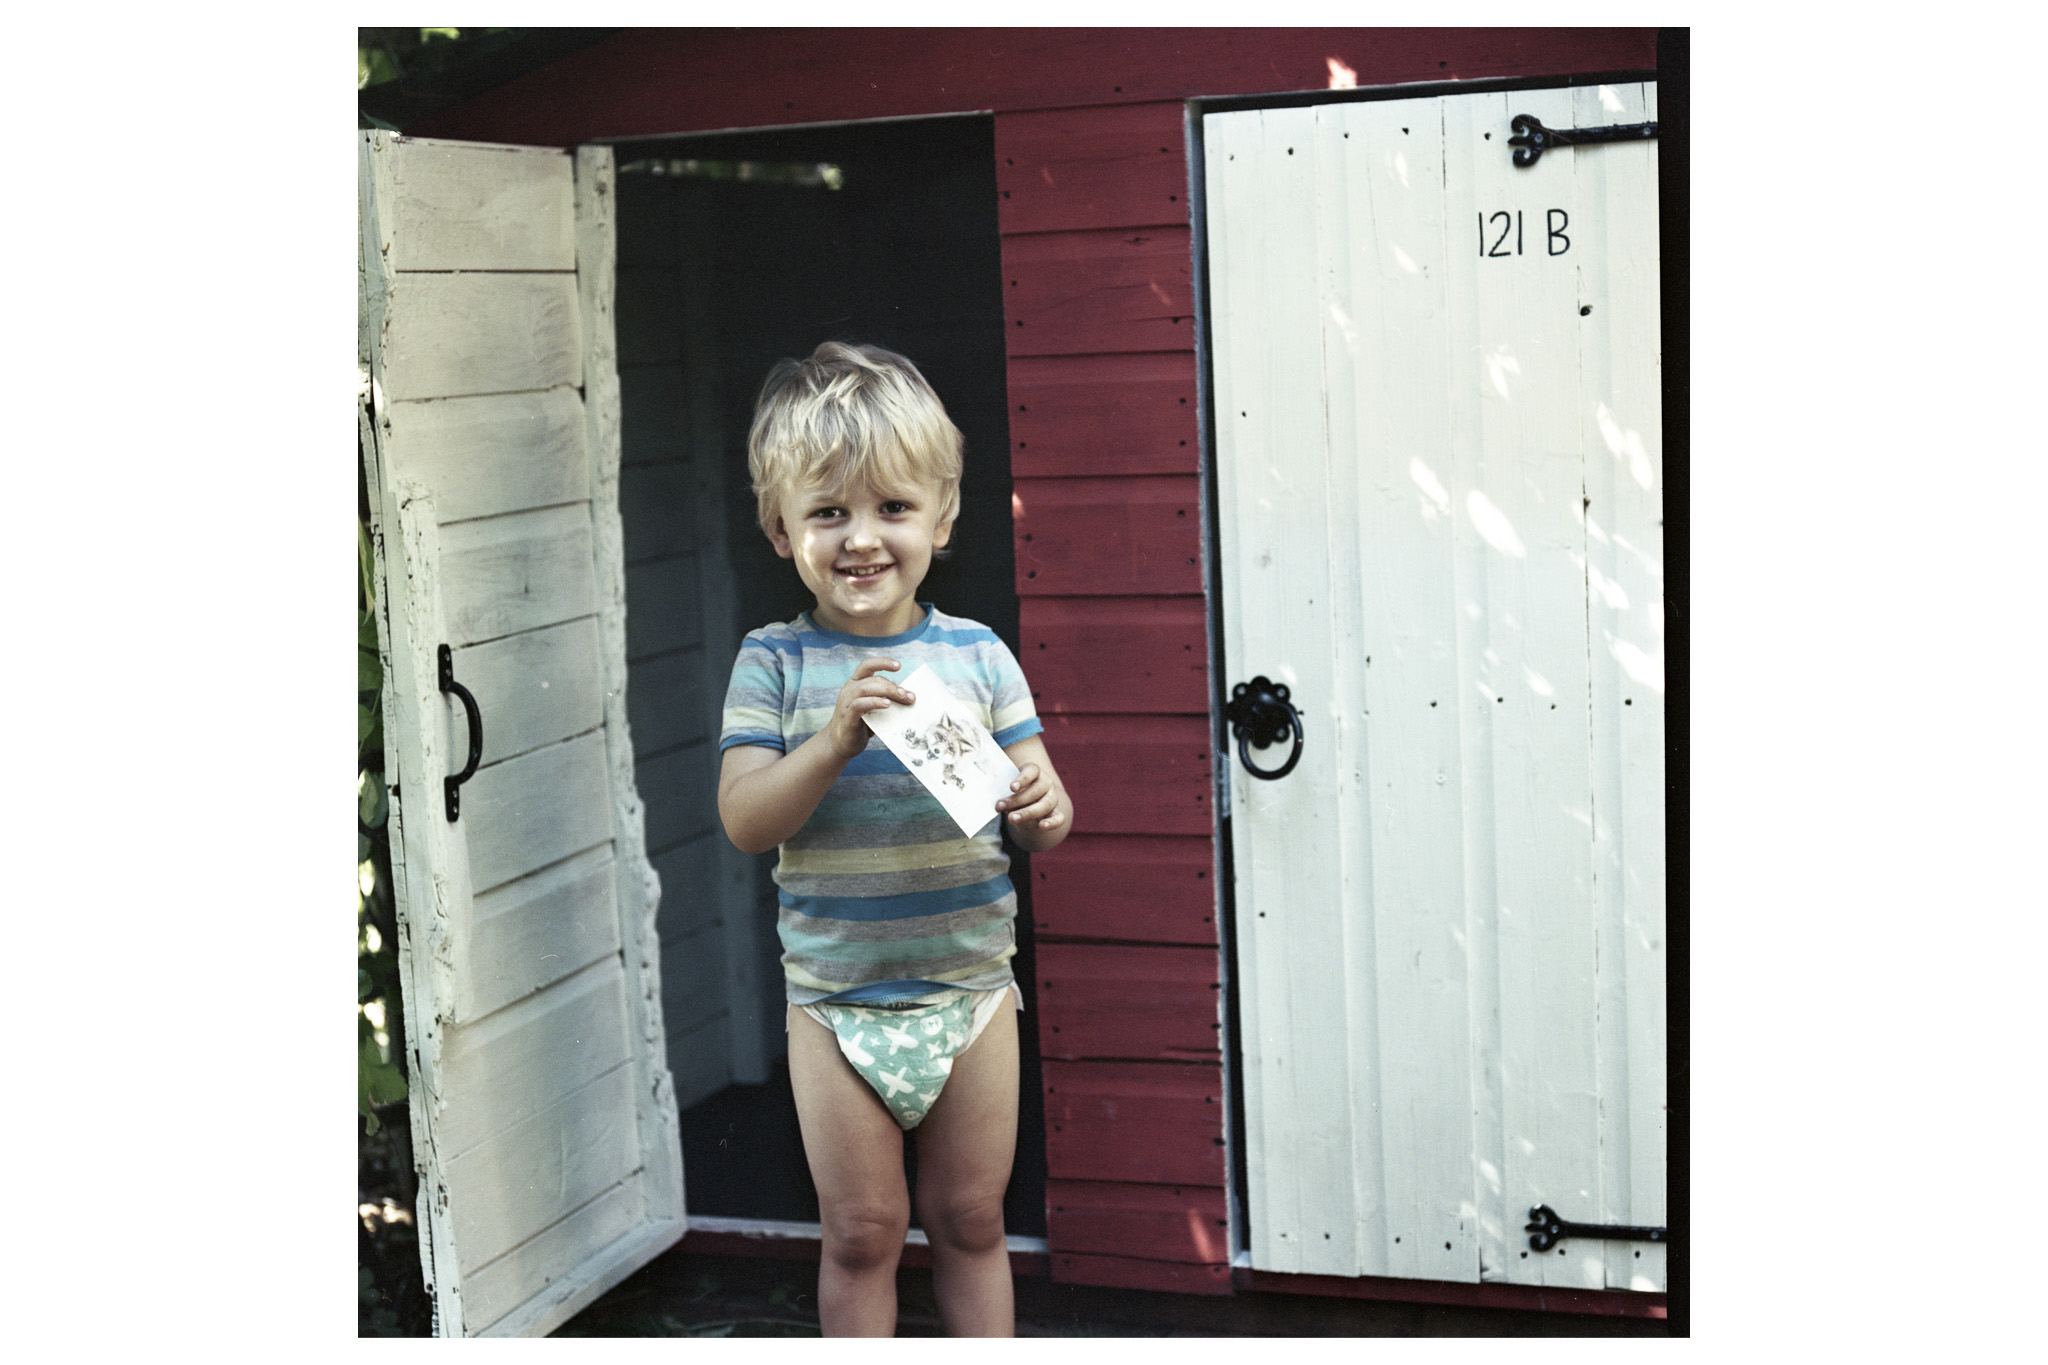
Results
The results are interesting, contrasty and have a muted saturation. The photographs themselves might have benefited from standard processing, they are not gritty or metallic enough to get the full benefit of the look that the process produces. I still like the pictures.
Underexposing retains greater detail in the highlights. The image pairs in this post were each metered one stop apart, the left-hand shots at box, the right-hand examples were under exposed by one stop. The histograms below also show the shift in the tonal balance created by underexposing. Once scanned the difference in the exposure is easily tidied up, but the highlight detail is more obvious in the underexposed negatives.
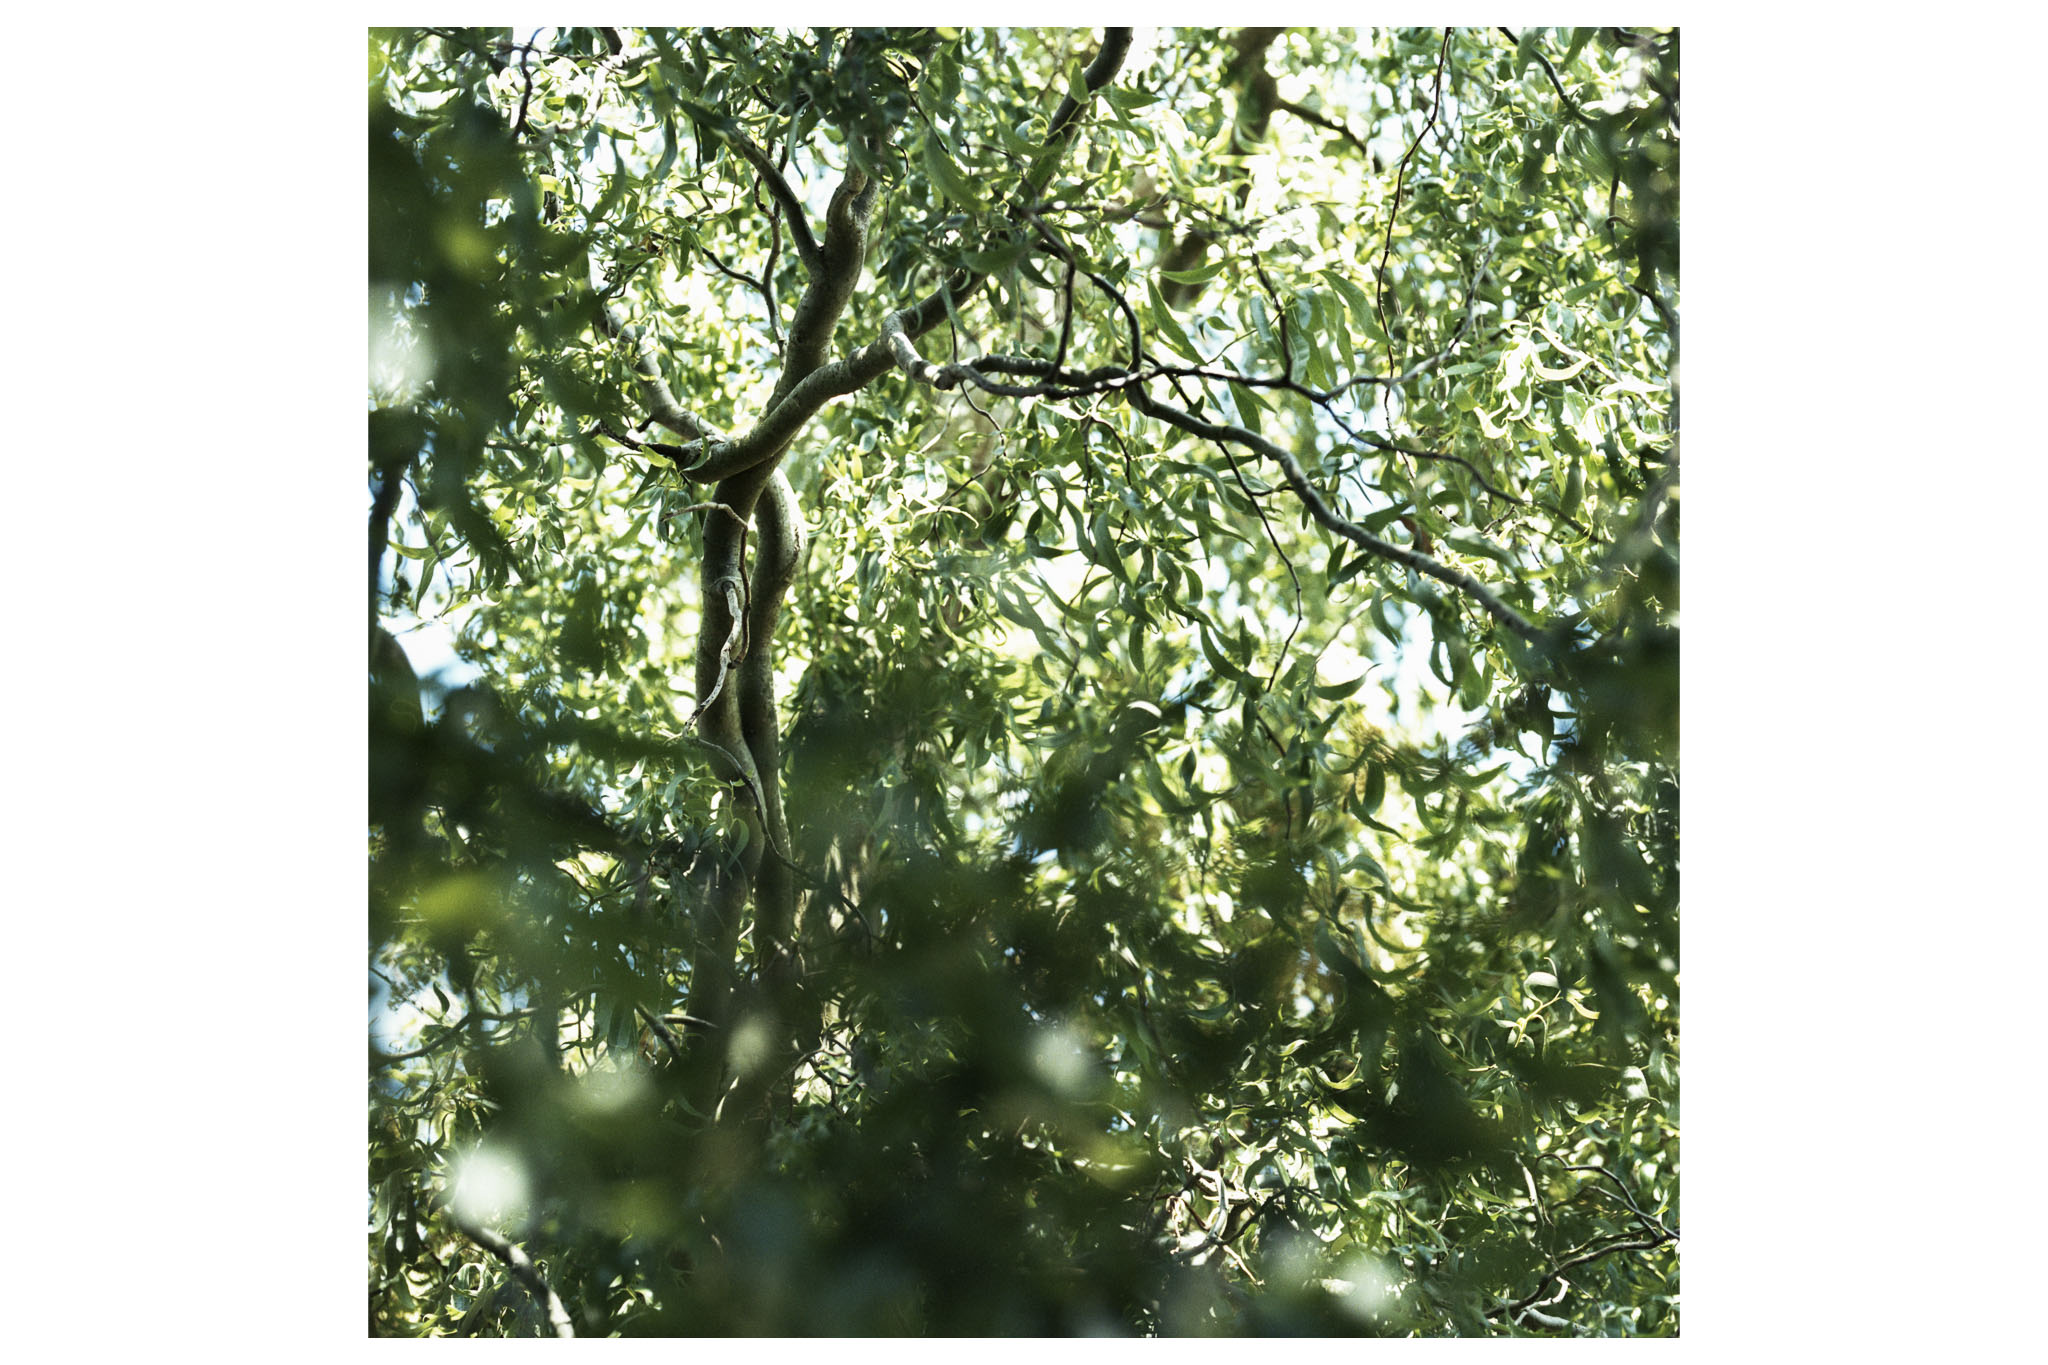

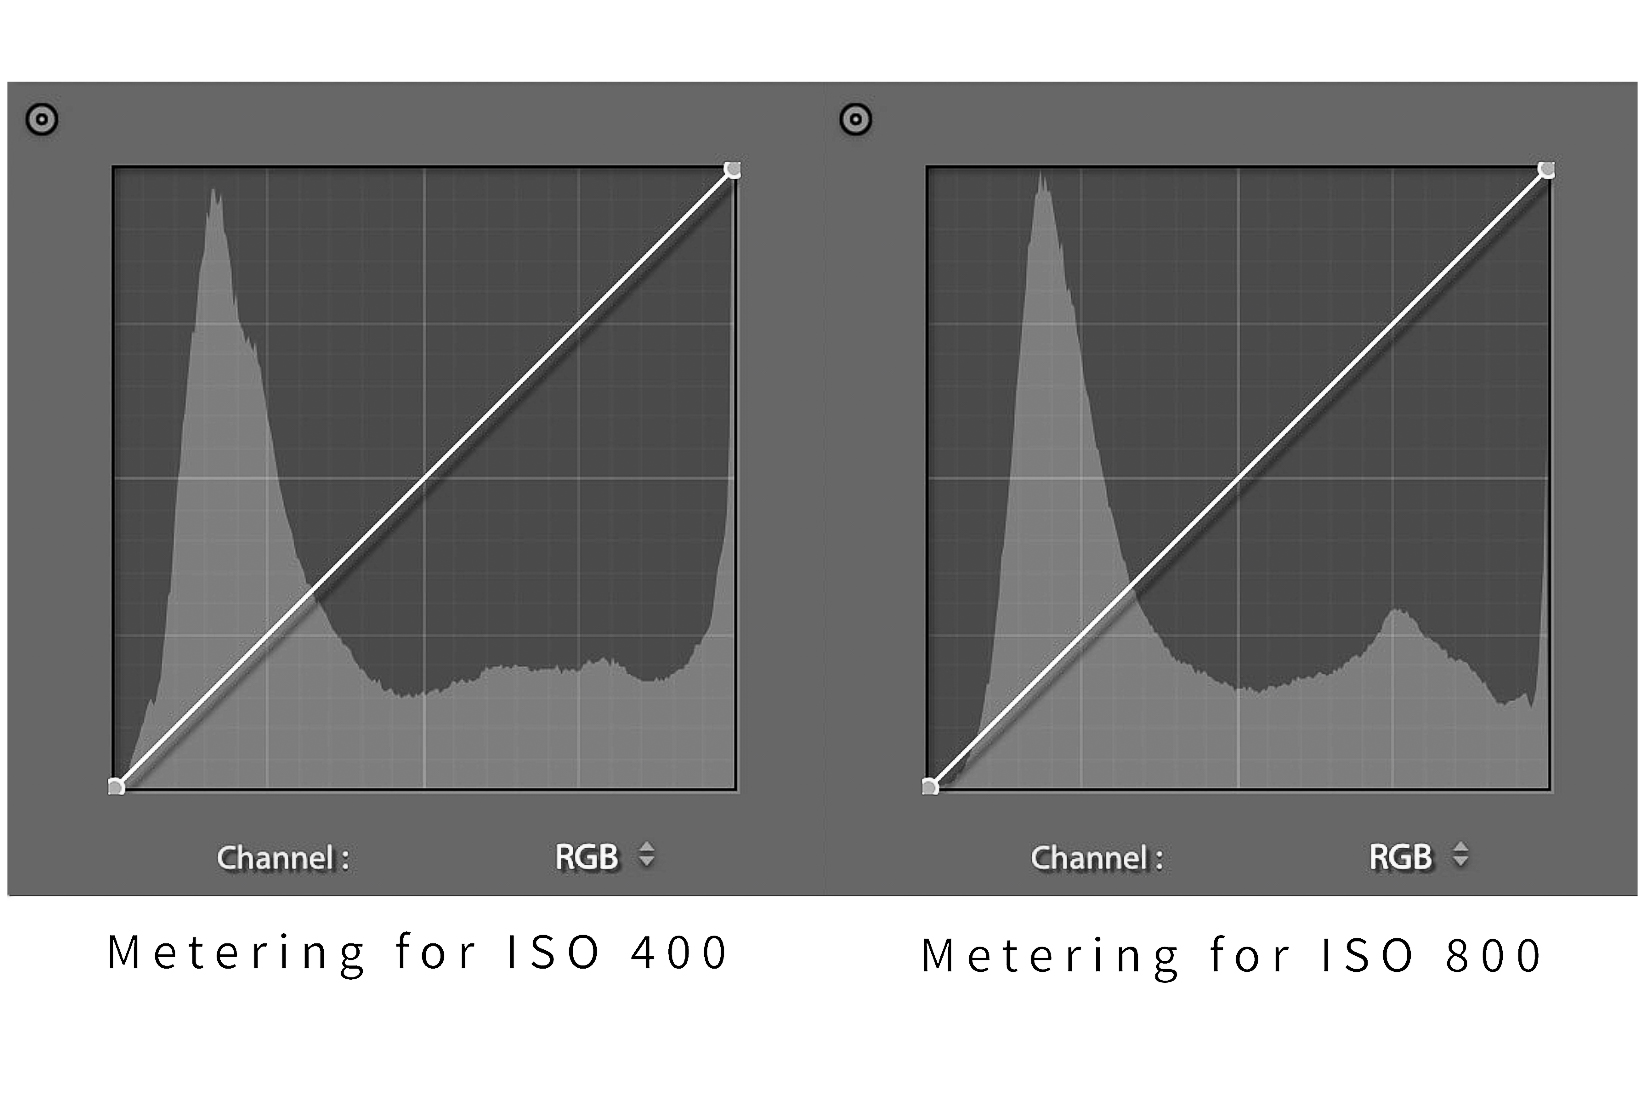
The scanner did have more trouble with these negs than it normally does, and the infra-red dust/scratch pass won’t work as there is too much silver left in the negs, just like a black and white image.
Tempted as I was to start bleach-bypassing all sorts of stuff, I’m now going to try and relax and choose my next roll carefully. The next time I can do some street photography in London I will consider BBP for example, or if I can get into a factory for some large-format colour BBP, that would be cool.